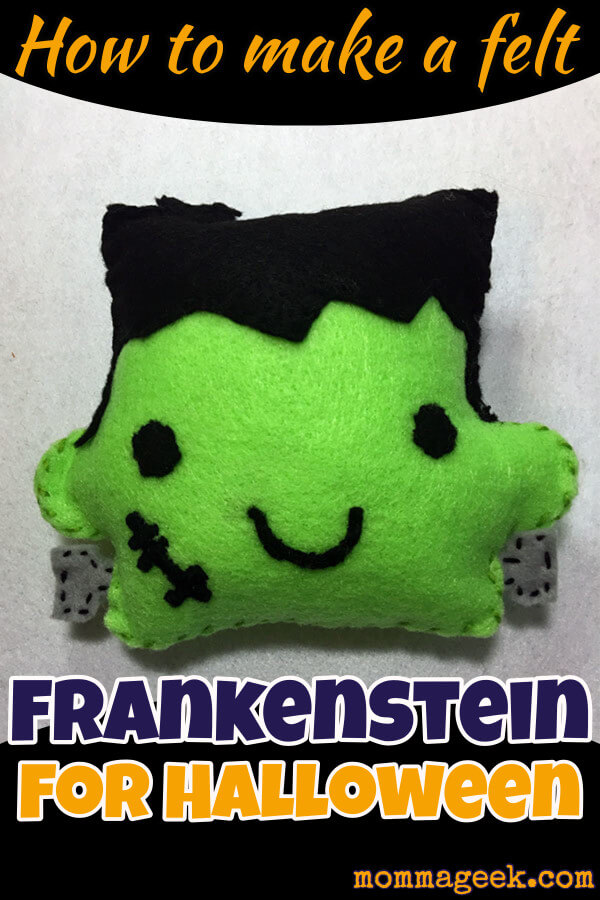
I just love Halloween. It is so much fun. You get to dress up, decorate your house, watch scary movies and hand out candy to the kids. I also love to do Halloween crafts and DIY’s. This year I decided to make some felts for Halloween. I have several, but this free pattern and tutorial is for a Frankenstein felt. I’m not sure what they are called… felt ornaments, or felt toys, so I’m just going to call it a felt Frankenstein.
This pattern that I made is for a kawaii inspired Frankenstein. I call him Franky.
He has all of the traditional Frankenstein details, but the added cuteness of small wide set eyes and a tiny smile.
If you would like the pattern, drop your email below and I will send it to your inbox.
If you want to check out the other Halloween felt projects, this is the bat and this is the ghost.
Before we start, here is a list of supplies that you will need:
6 stranded thread. I use this kind
Felt, something thicker than standard craft store felt but not too thick
Batting or stuffing. I used an old pillow, but if you don’t have one, this works really well.
A needle with an eye big enough for a 6 stranded thread. A standard cross stitch needle tends to be too dull on the end to push through felt. You will want an embroidery need like this.
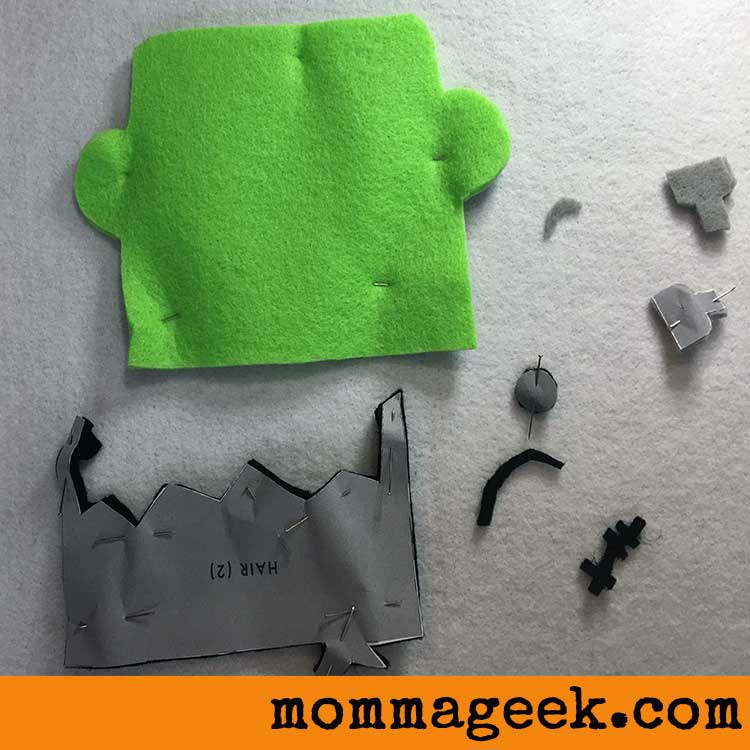
The first thing that I did was cut out the pattern on the felt. All of the things that needed 2, I doubled the fabric over and cut it out.
To cut the felt out, pin your pattern pieces on your felt. This is easier that drawing lines around each piece onto the fabric. And, lines can be hard to see on the dark felt.
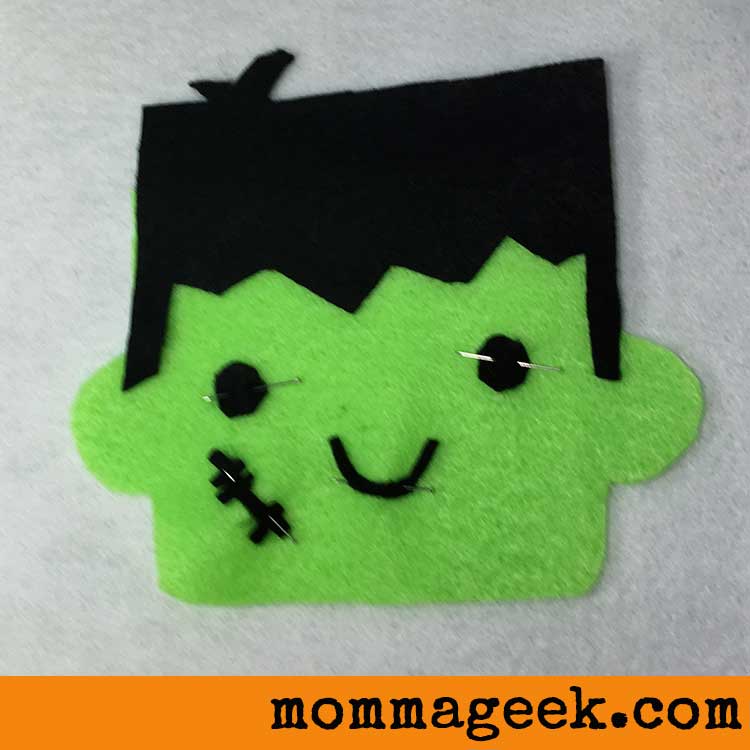
The next thing to do is to pin the face pieces onto the head. Lay them out, and figure out where exactly you want the pieces to go, and pin the eyes, nose, mouth and scar on. You are using just the front layer of the head for now.
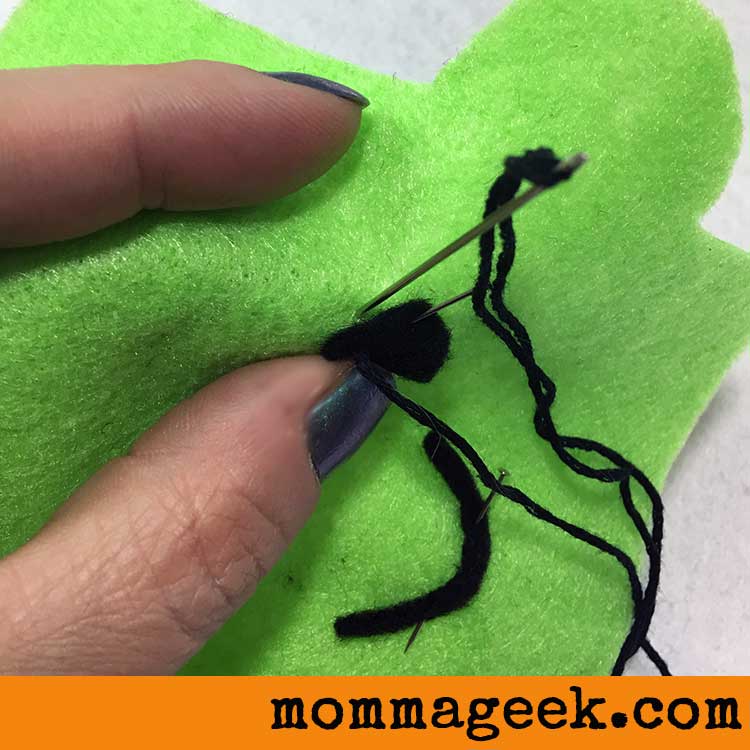
Once you have the face how you like it, Begin by stitching the eyes and mouth on.
When stitching the details on your Franky, draw the needle up through the black piece and push it down under the black and only into the green. This helps to hide the stitch. You can totally skip this step, but you will have a different look to your Franky than what I have done.
So now you should have the faces pieces on your Franky. The next thing to do is to work on his scar.
The scar is a tiny little piece of felt. And if you don’t have a thick enough piece of felt it can be very difficult to cut out.
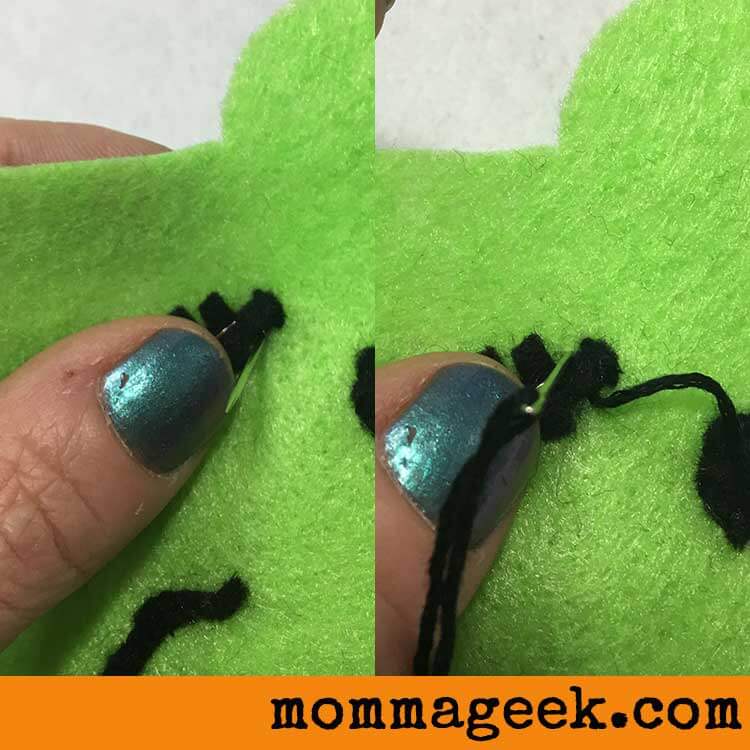
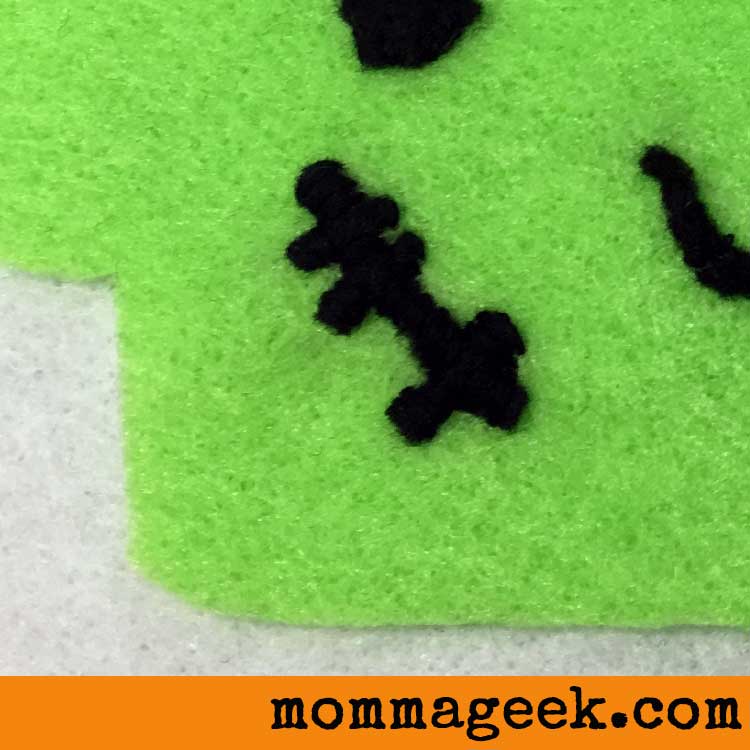
To stitch on his stitches, we aren’t going to stitch directly into the black as we have done before. We are going to bring the thread up through the green fabric, over the black felt and down into the green on the other side. Do this all along the stitches. It gives a raised look and helps the detail stand out and look more like stitches on his face.
Here is a close up of the stitches once they are on.
So now you should have eyes, mouth and stitches in place. The next thing to tackle is his hair.
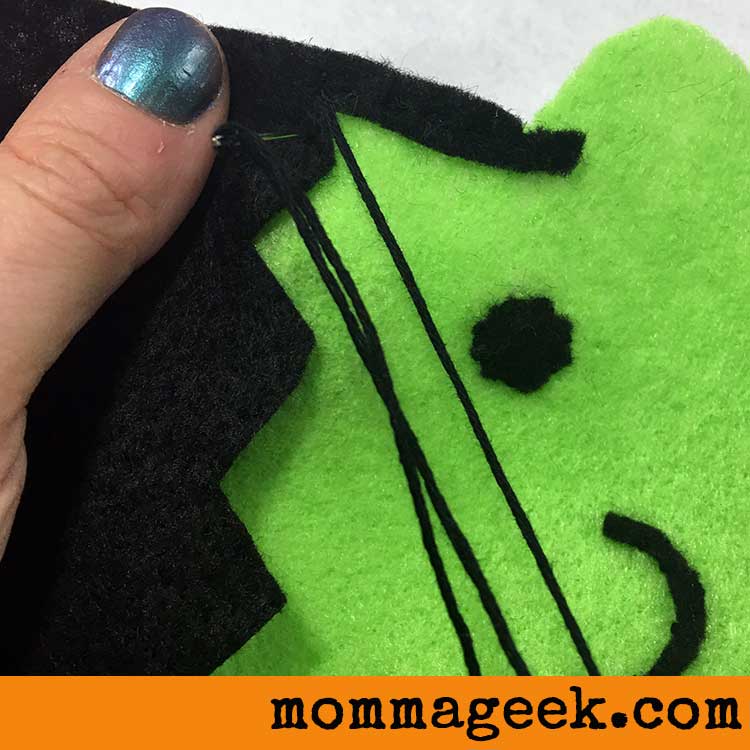
You will want to pin it in place and then just stitch along the bottom border around his sideburns and bangs.
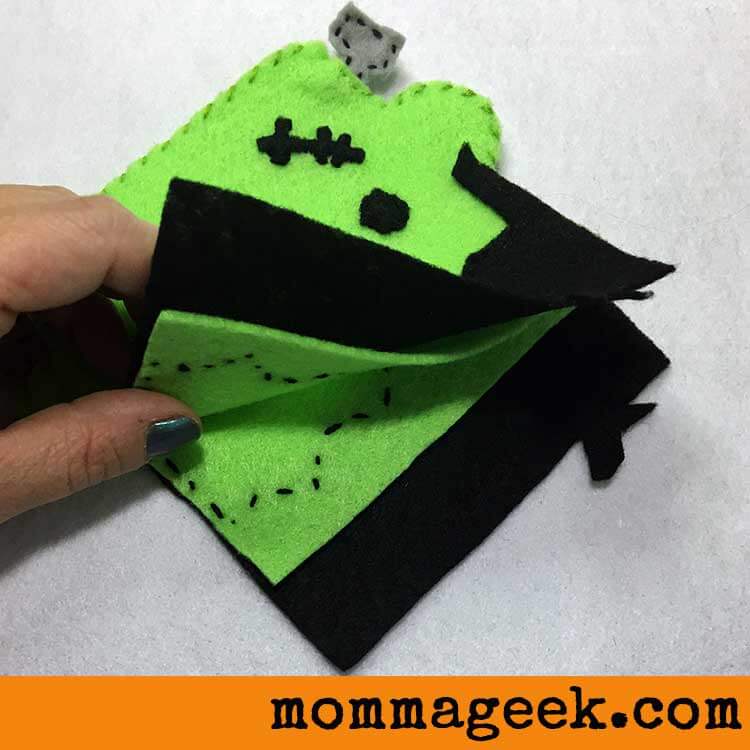
Now that we have Franky’s face put on and the bottom of his hair stitched on we are going to work on putting the back and front of the head together.
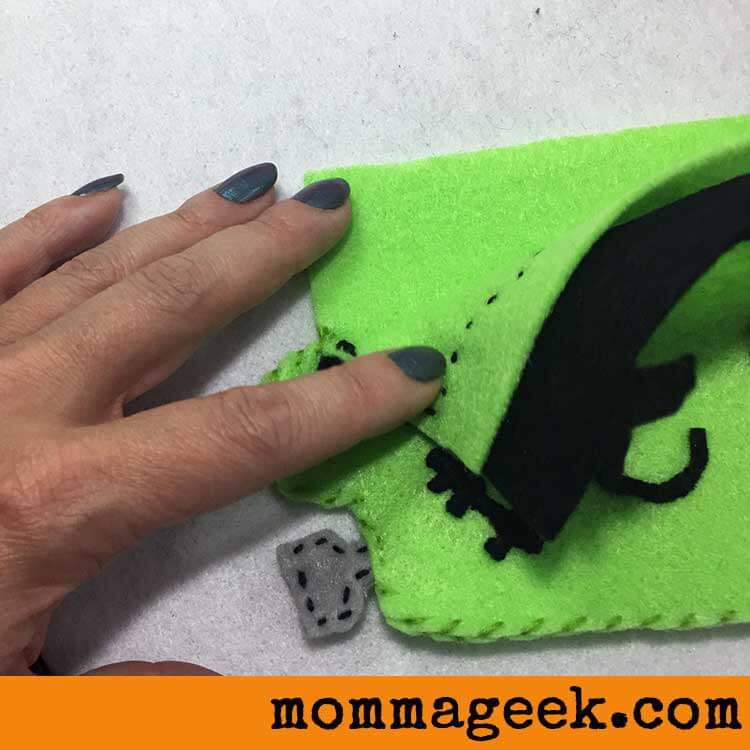
Stitch together the 2 bolt pieces (4 pieces of fabric, sewn into 2 bolts) and then pin the bolts and the back of the head together.
Once pinned in place, you are going to start stitching the sides of the head together and the bolts in place.
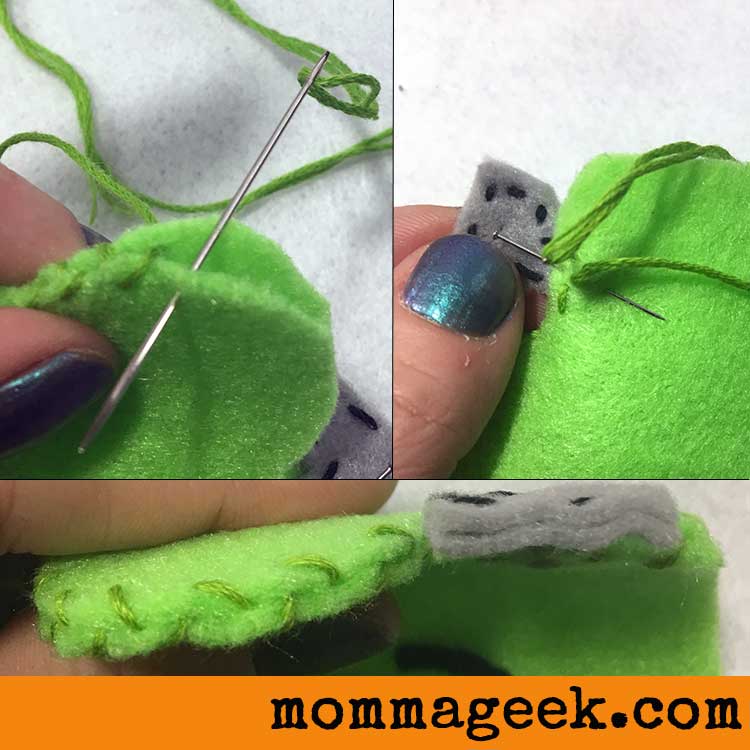
For the sides we are going to use a stitch that looks a bit like a braid when its finished. Feel free to use any type of stitch you like. Some people are partial to the blanket stitch. I just like the look of this one.
I did this braid stitch all the way around until I got to the bolts. Over the bolts I just did a straight stitch.
Your Franky should look pretty close to this.
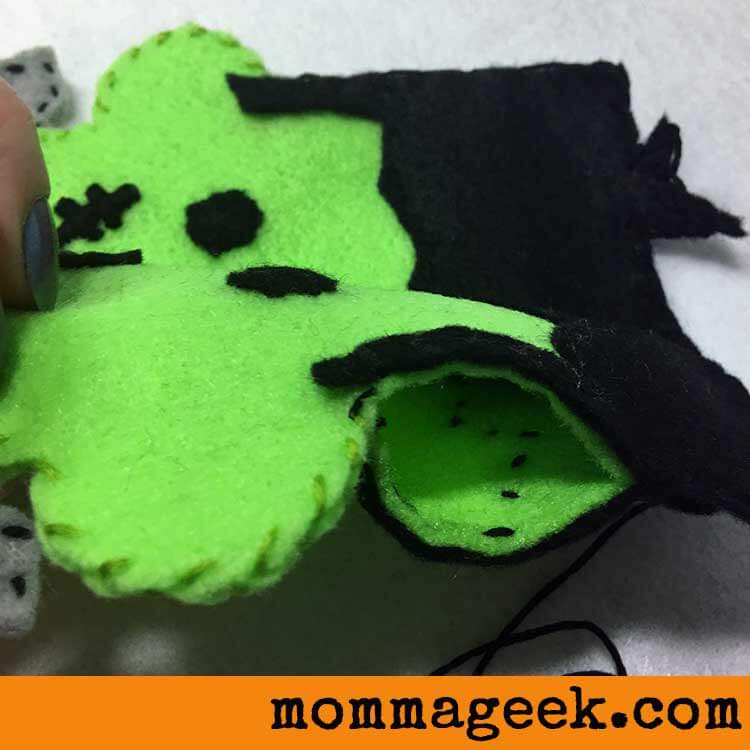
The next thing we need to do hear is to line up the back of his hair with the front of his hear and pin it into place.
Once you have his hair in place, stitch it on, but don’t go all the way around. Leave about an inch or so open.
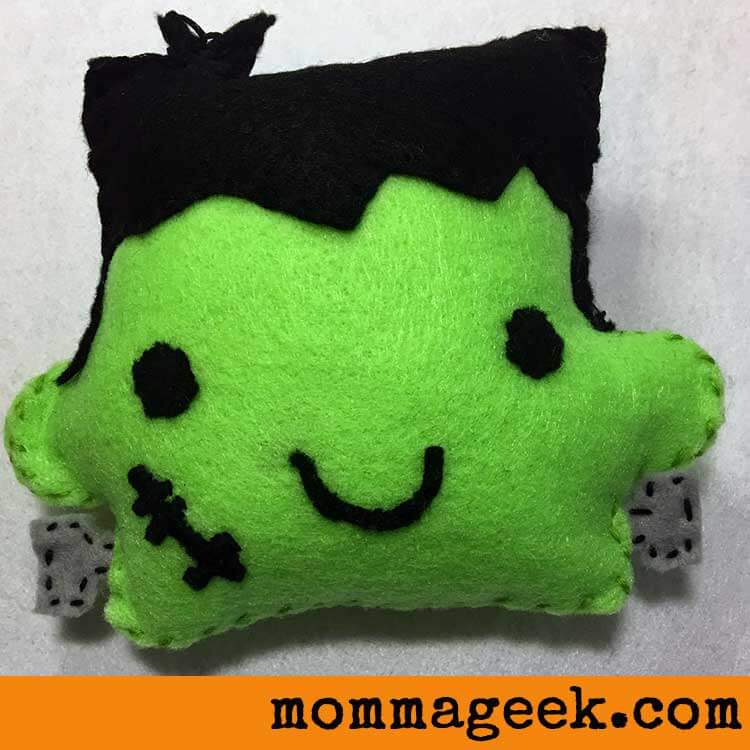
Now fill him up. Stitch your hole closed, and you are done. Isn’t he so cute!!!
Don’t forget to subscribe and download your free pattern.
Now who could resist a face like this. It’s a face a mommaGeek would love.
–MommaGeek
This post may contain affiliate links. If you click & make a purchase, I receive a commission! Disclosure policy here.

