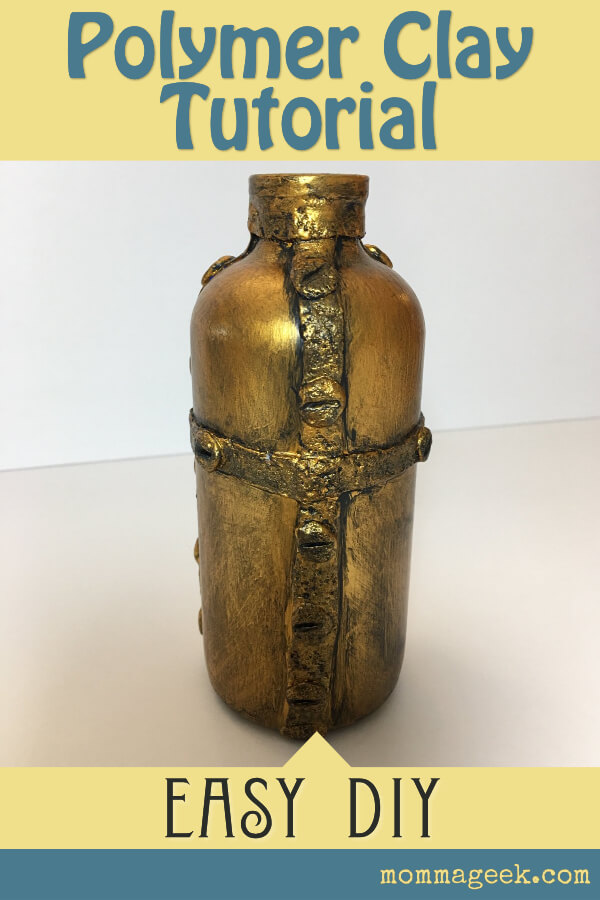
In this tutorial, I am going to show design details and instructions for making your own steampunk inspired decorative polymer clay bottles and jars. This is part 2 of the polymer clay project ideas for bottles and jars. In the previous tutorial I showed you all of the technical details for how to bake polymer clay on glass, how to keep your acrylic paint from drying out and how to cure the paint on your polymer clay projects. If at any point you need a refresher from the first tutorial, you can access it here.
- The original tutorial with technical details
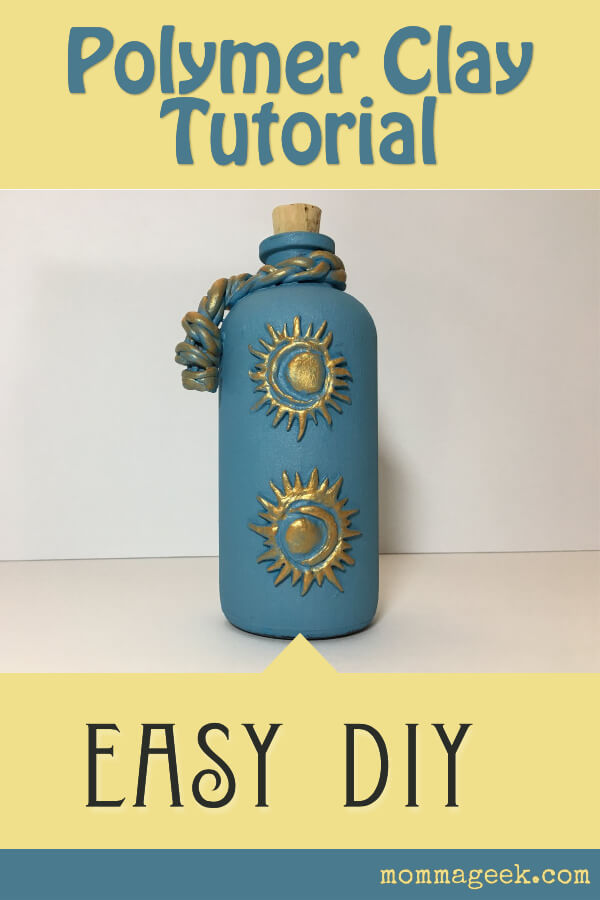
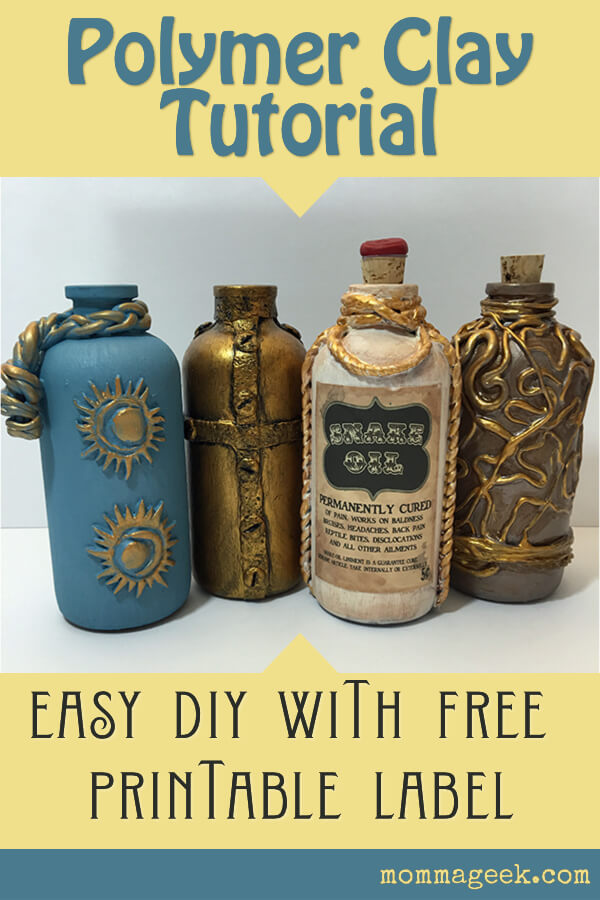
- Sun and Moon Bottle
- Snake oil bottle with free printable
In this tutorial I be showing you how to make a steampunk inspired polymer clay project.
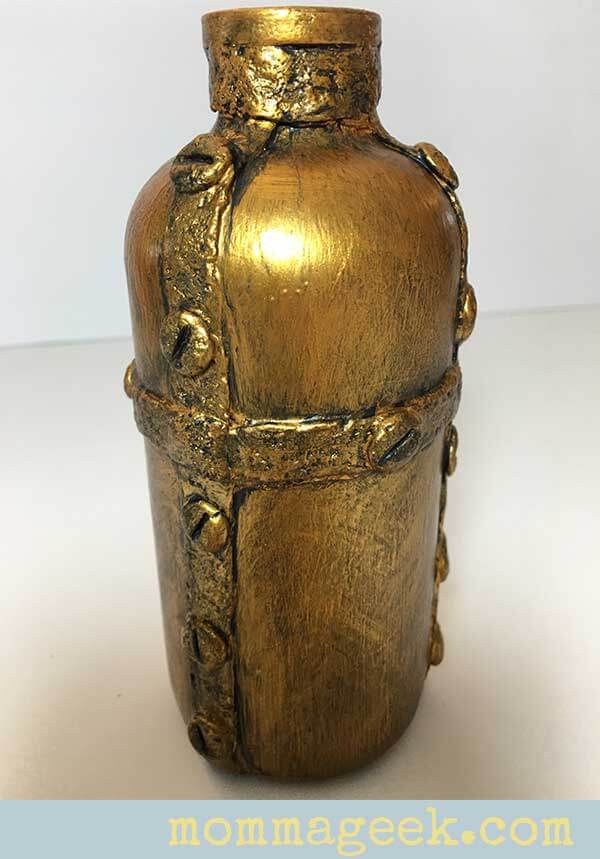
This project needs 2 types of polymer clay pieces. The straps and the screws.
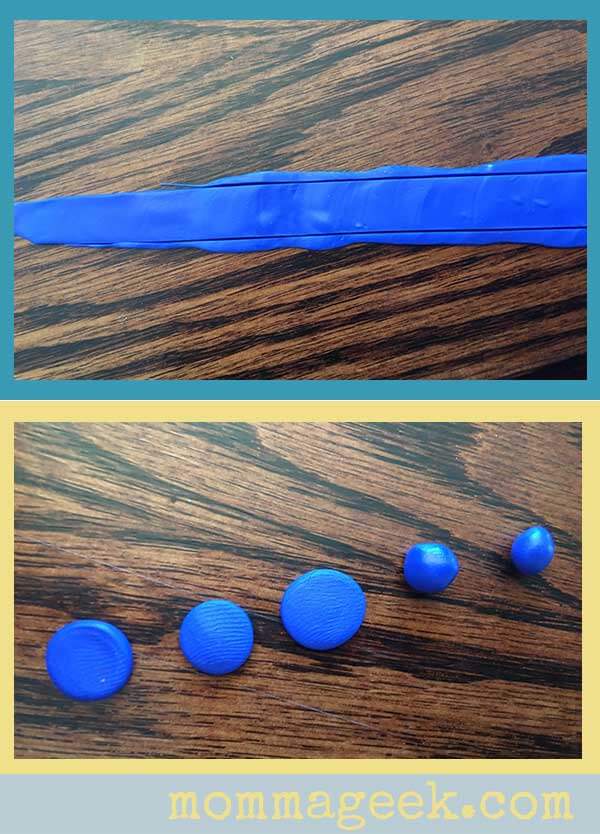
The straps are made from pieces of polymer clay cut into strips and the screws are made from small balls that I flattened with my finger.
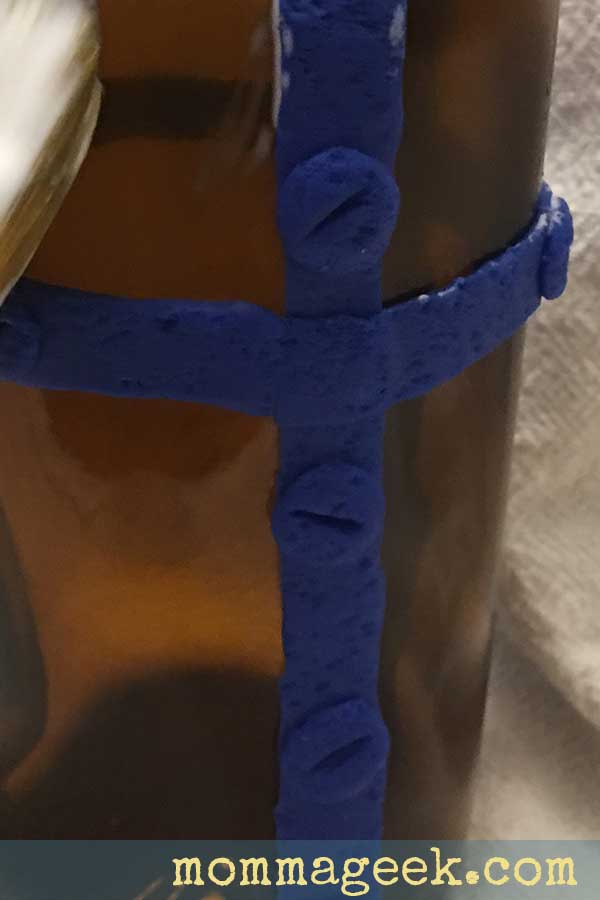
Place the straps on the bottle first and then the screws are placed on top of the straps. The joints of the strap do not need to be seamless. I placed the screws above and below the joints. Doing this allows the joints to look like they are welded. Use the tip of a butter knife or other flat object to make indents for where a screwdriver might fit. You don’t want the slots in your screws to all face the same direction. Flaws and imperfections help to pull of the look. Also, you will want the indents of the slots of the screws to be wide enough to look like they have been well worn.
Take a stiff, old paint brush and dabbed the top and sides of all of the polymer clay on the bottle. This gives it a dented and dimpled appearance. Steampunk metal is seldom smooth. Remember that visual imperfections are what gives it its character.
At this point, I have placed the clay on the bottle, cooked the clay, covered the bottle with 1 coat of Mod Podge and 2 coats of a brown and copper paint mixture, making sure to cure the paint between coats.
See the previous tutorial for detail about curing the paint.
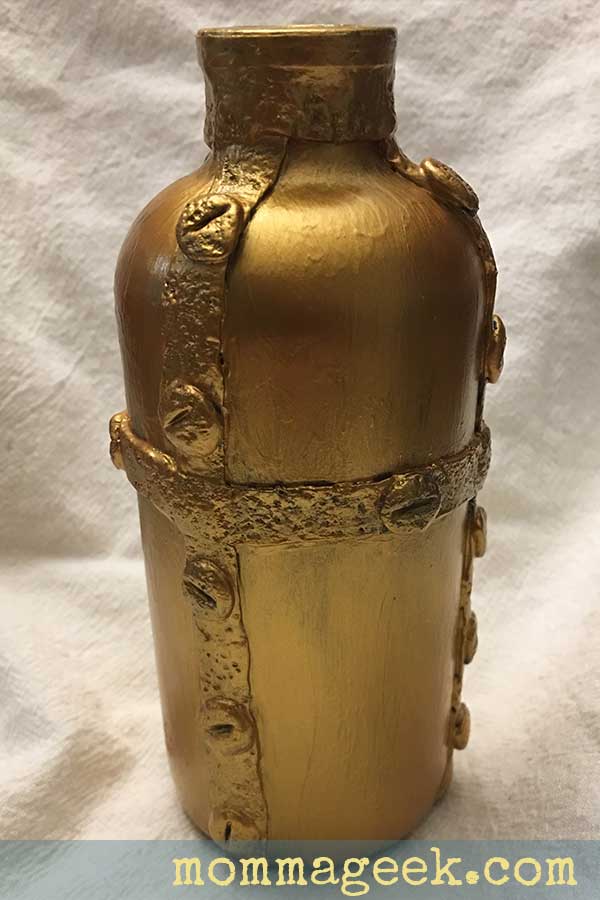
Right now, the polymer clay bottle looks ok. But it doesn’t really look steam punk yet. So the next thing to tackle is aging the metallic paint.
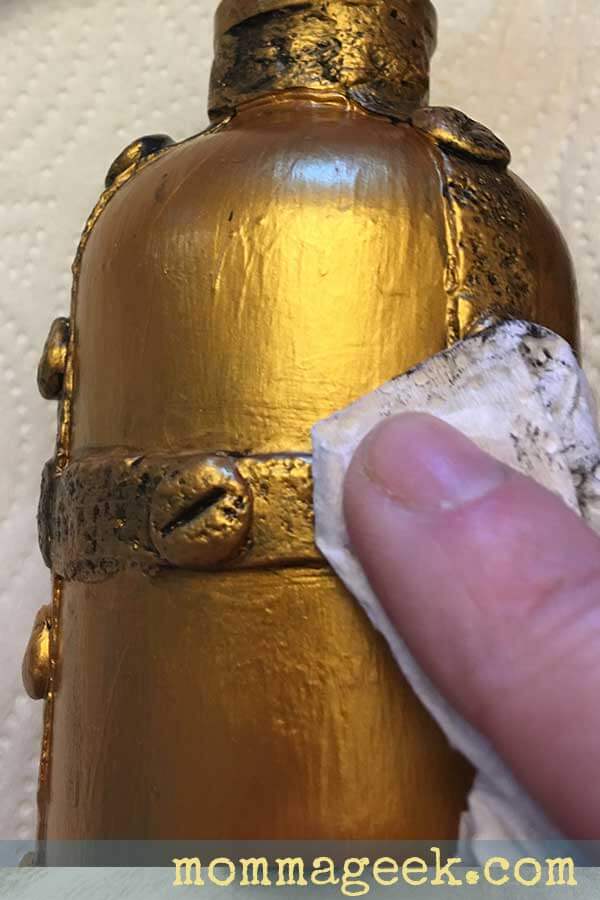
This is done by rubbing dark paint onto the bottle with both a dry brush and a paper towel. I use a dry brush on the clay details and then wipe off the excess leaving the bulk of the paint in the ridges of the clay. I also made sure to get plenty of dark paint on the inside of the screw holes. This gives it depth and dimension. If the bottle starts to get too dark, just add some of the original base color over the top of the darker color. Keep using your brush and your paper towel to add dimension. I did a criss cross motion with my paper towel that was lightly dipped in paint to add a brushed metal look to the bottle. Acrylic paint dries fast. If your dark paint dries to quickly and you need to tone down the darker color you can apply more of the base color on top of the darker color. Continue to play with the shading until you get it how you want it.
The end results looks like this.
Here is a short video that I made of another bottle.
But, it will give you the general idea of how the process works. For more specific detail, you can check out the first post in this polymer clay idea series.