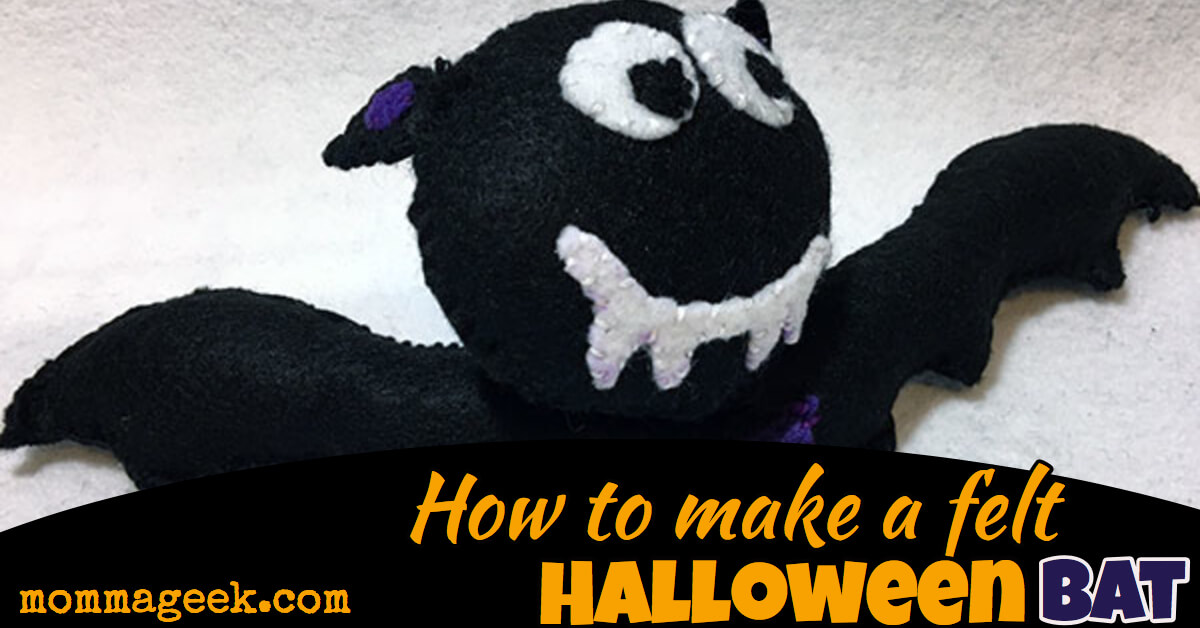
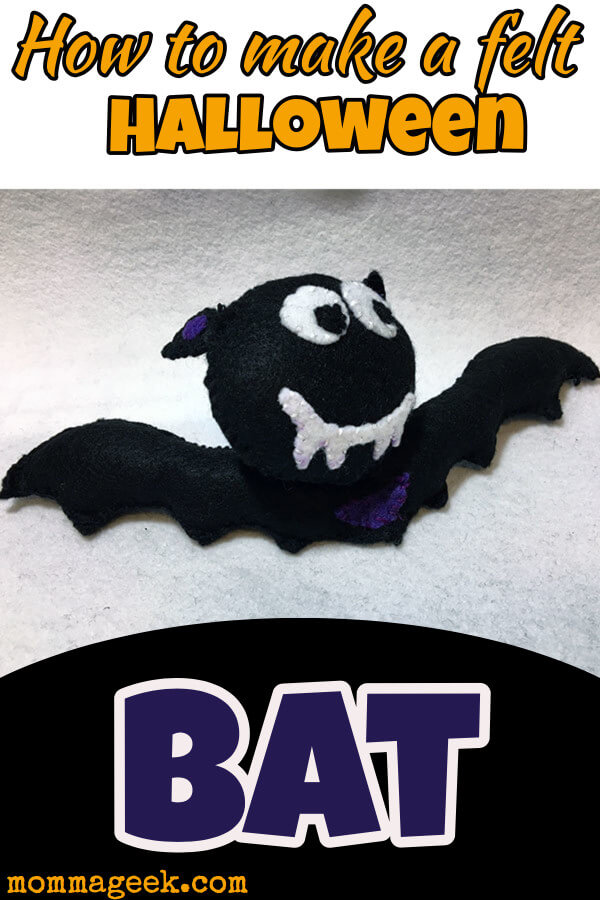
This free felt bat pattern and tutorial was a lot of fun to make. Not only is this felt bat cute, but he also has bent wings that give him extra dimension. This is a great craft for Halloween and I hope you enjoy it as much as I do.
If you haven’t seen my other Halloween felt projects, you can grab the ghost here and Frankenstein here.
I’d say of the 3, the bat was the most difficult to sew. However, I don’t think you need to have any advanced skills or anything to make this pattern.
To grab your free copy of the bad felt pdf pattern, drop your email below.
Here are a list of supplies you will need:
6 stranded thread. I use this kind
Felt, something thicker than standard craft store felt but not too thick
Batting or stuffing. I used an old pillow, but if you don’t have one, this works really well.
A needle with an eye big enough for a 6 stranded thread. A standard cross stitch needle tends to be too dull on the end to push through felt. You will want an embroidery need like this.
A side note, you will see purple on some of the white felt fabric. I used a disappearing ink fabric marker like this one. The are air and water soluble. Mine took about 36 hours to fully disappear. If you don’t want to have marks on your fabric, you can pin the paper pattern to your felt and cut it out that way.
Let’s get started.
The first thing you will need to do is to cut out your pattern. I pinned the pattern directly to the black fabric and cut along the lines of the paper.
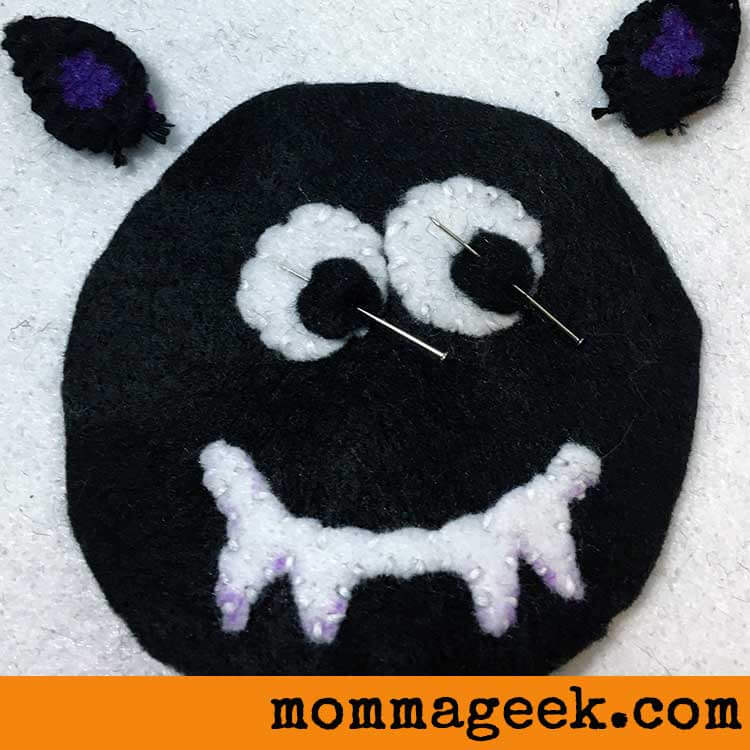
The first step is to pin all of the face pieces and ear pieces together. Decide where you want everything and position it in place so it doesn’t move while you are sewing.
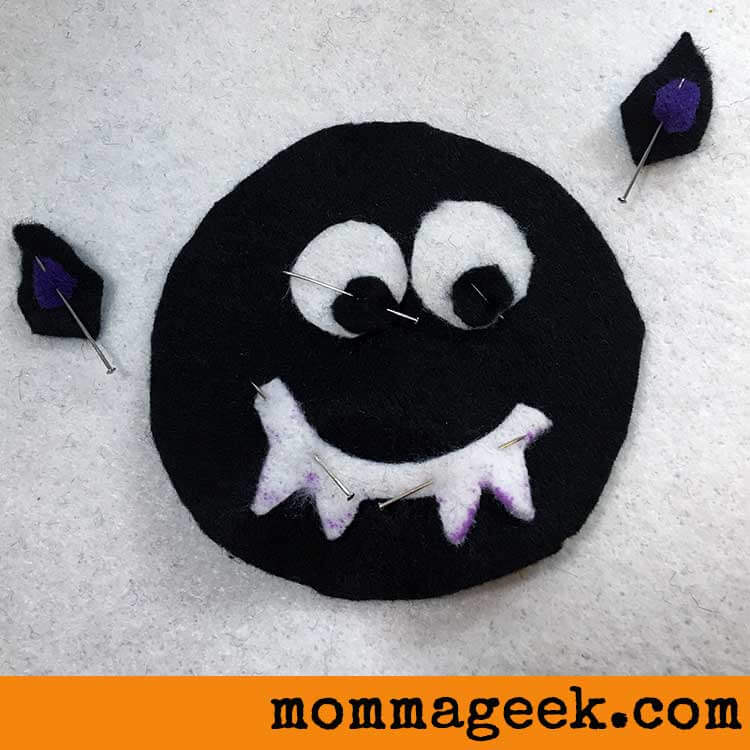
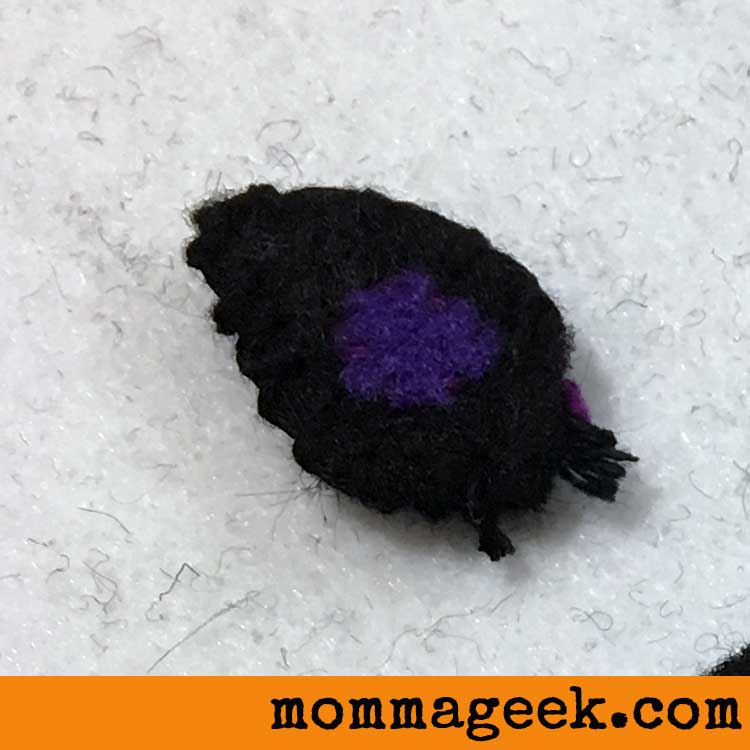
The next step was to sew the purple inner pieces onto the black ears.

Once that is done, you will want to sew the back of the ears together.
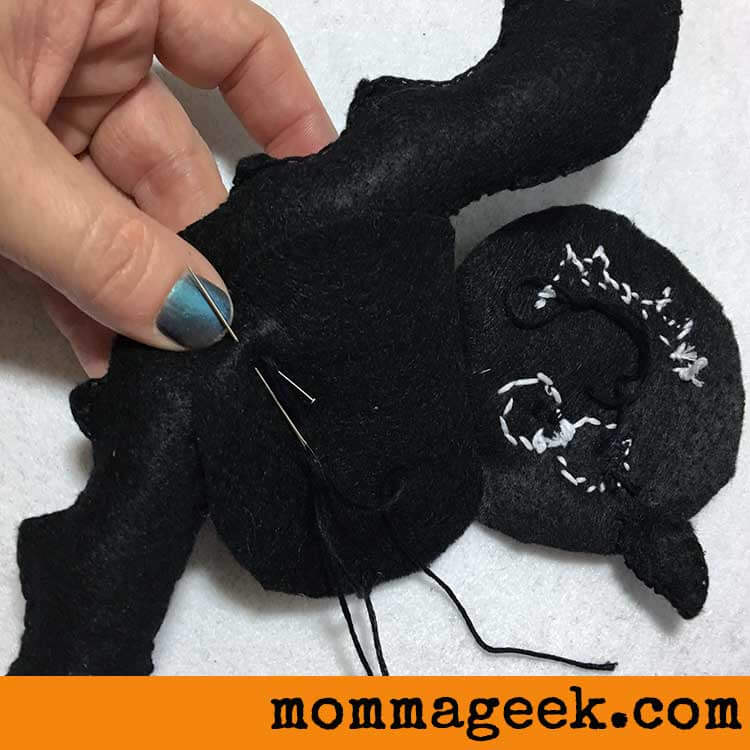
Next begin to sew on the white pieces onto the face. So the white of the eyes and the teeth.
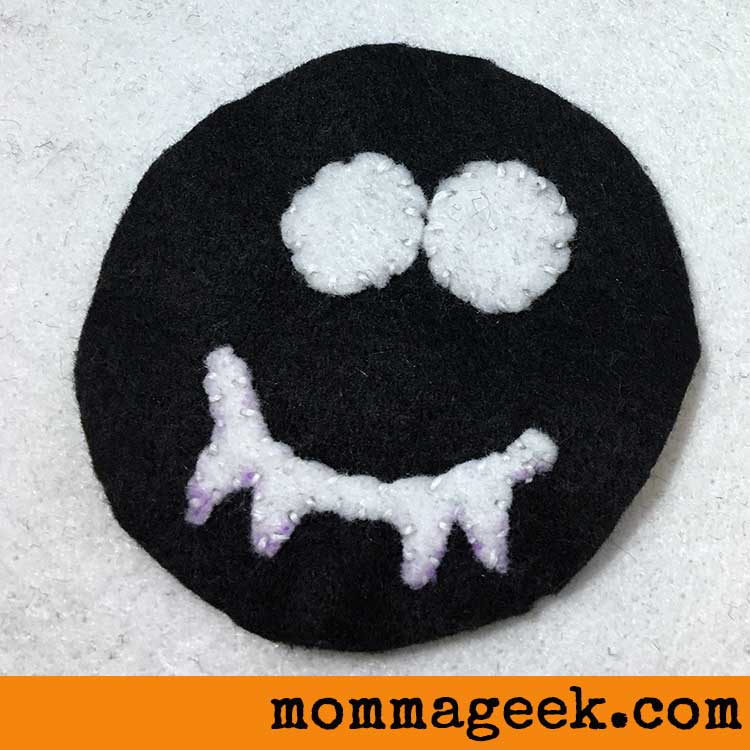
Once that is done, the next step is to attach the black of the eyes.
Now that the face pieces are all in place, lets move onto the wings.
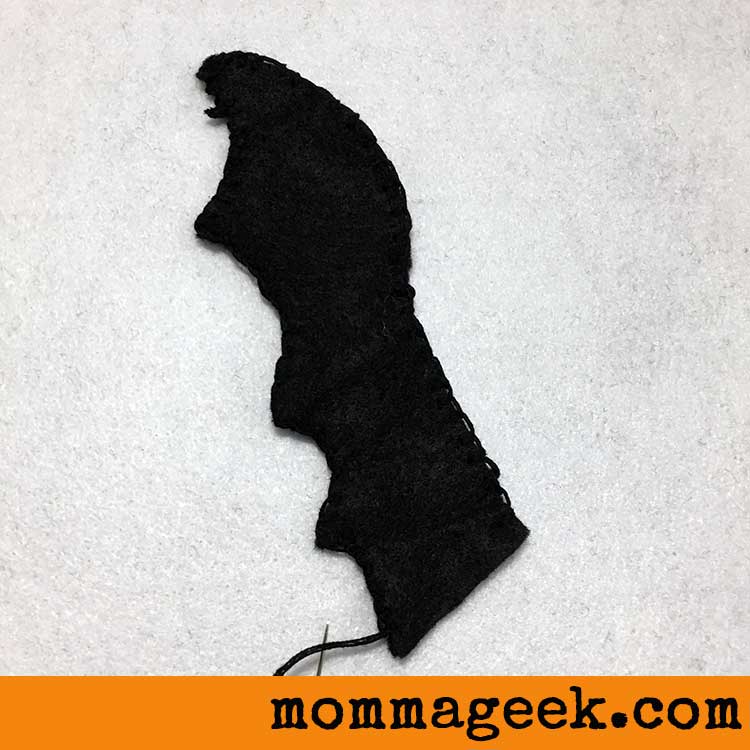
You are going to make 2 bat wings. Sew together 2 bat pieces at a time. Sew the sides together but leaving the end open for filling.
If you would like to see how the sides are sewn together, have a look at this post.
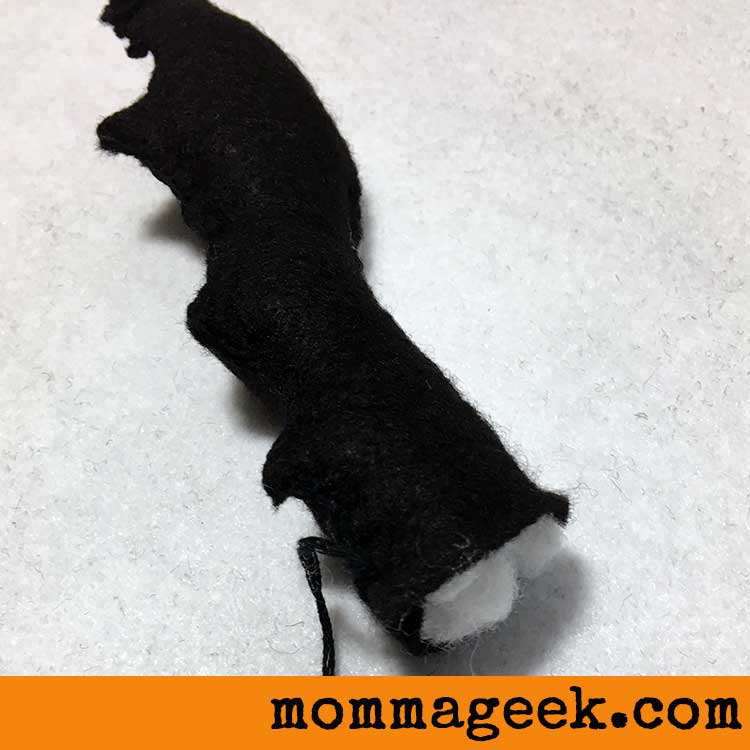
Once the wing is stitched together, fill it and then stitch the hole closed. You don’t need to tie off your thread before filling the hole. Just let your needle dangle while you stuff the wing.
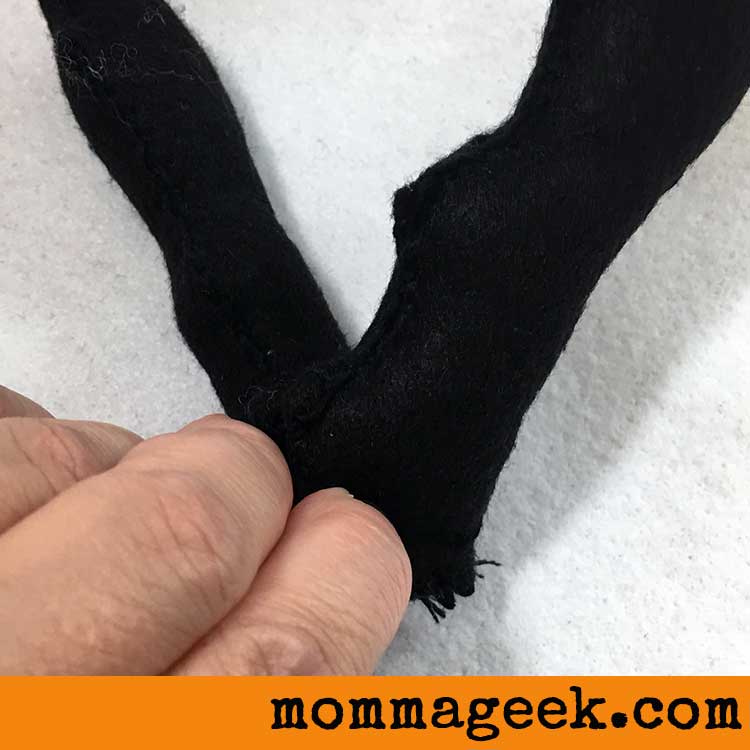
Now you should have 2 wings finished. You are going to hold the seems together and stitch them together at that line. This will give the wings a definite look of two separate wings.
With the wings stitched together, you are now going to pin the front of the face to the back of the face. You will want to pin them together just at the top of the head so that the head can still open at the bottom.
Open the head and then pin the wings to the back of the head.
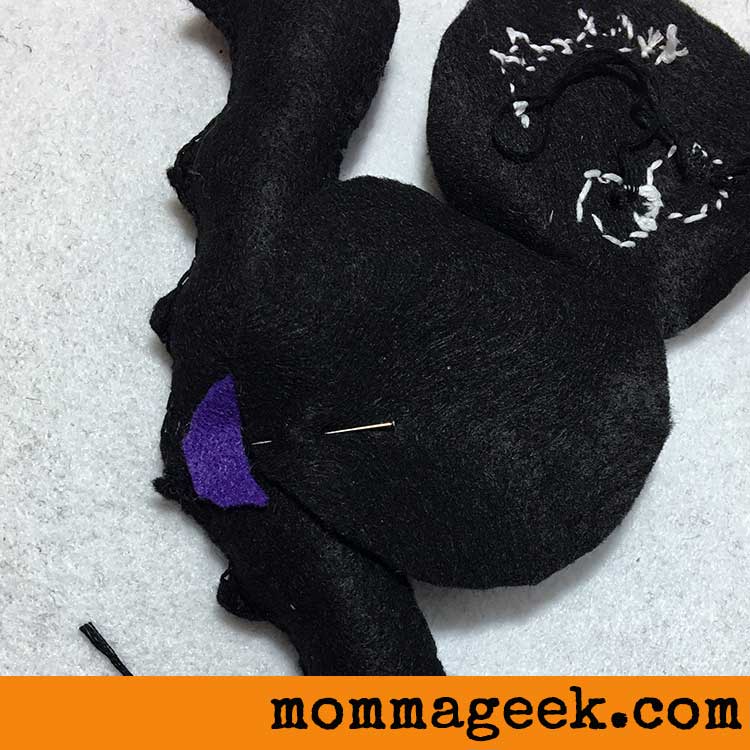
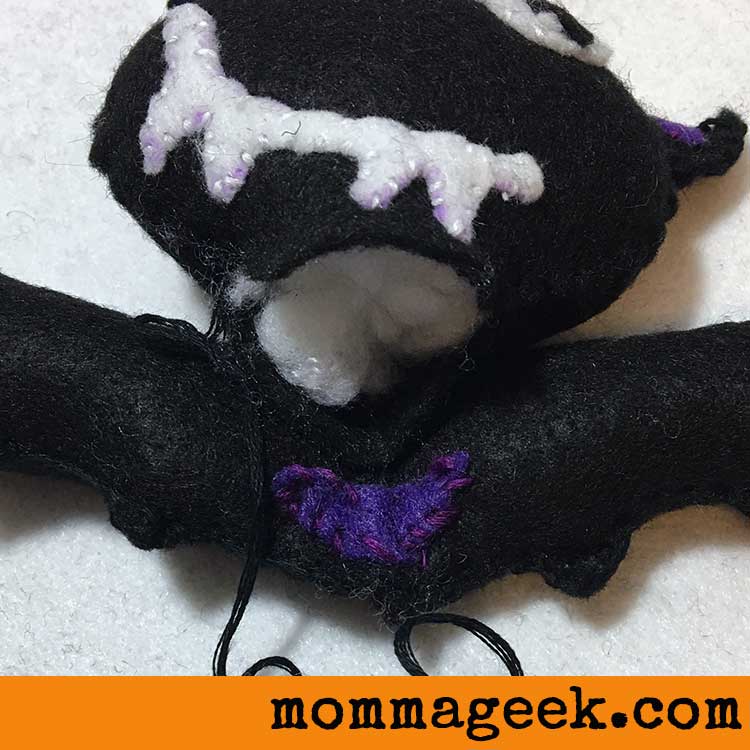
We are just pinning the face together to see where the wings will line up with the head. This is important because in the next step we will be applying the purple belly.
Once you have decided where the head is going to go, you will place the purple belly on the wings and stitch them together. This is a decision time. Do you want your wings to be flapping forward or do you want your wings to be flapping backwards?
If you want your wings to flap forward you will put them forward when you stitch the purple belly on. If you want your wings to flap back, you will bend the wings back when you stitch the belly on. The thread of the belly will help to hold the wings in whatever direction you want your wings to go.
So just eyeball this. Get the wings where you want them and then stitch the belly in place.
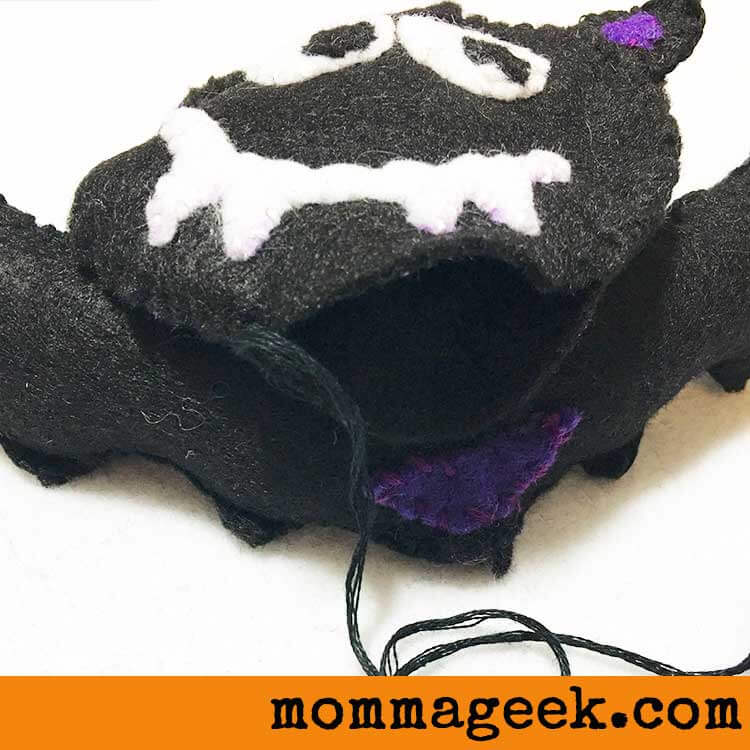
Whoosh, that was a hard step. But don’t worry, he doesn’t need to be perfect. And once the head is stitched on, you won’t see much of that belly anyway.
Back to that pin in the back of the bats head. Where it is pinned to the wings, just add a few stitches in there to secure it in place.
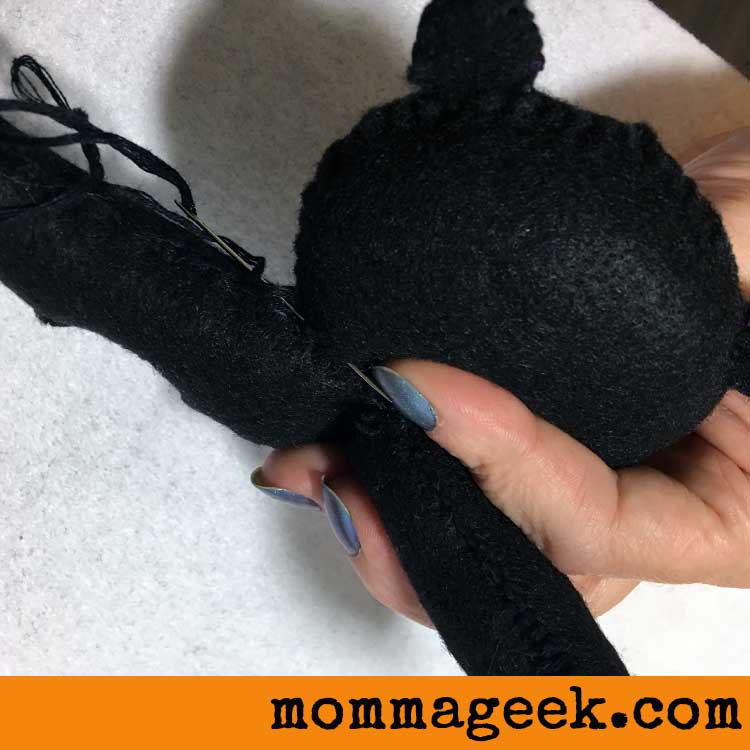
Next, stitch around the bats head, leaving a space for filling the head.
Almost done now.
Fill the head and close off the hole.
Now you might be done. Or… you might not be. Do you like the way your bat’s wings lay? When I was finished, I decided that I wanted the wings just a wee bit higher and farther back than I had originally made them.
This is easy to do. Just flip your bat over to the back, put the wings in the position that you want, and add a couple of stitches from the wing to the head to hold them in place.
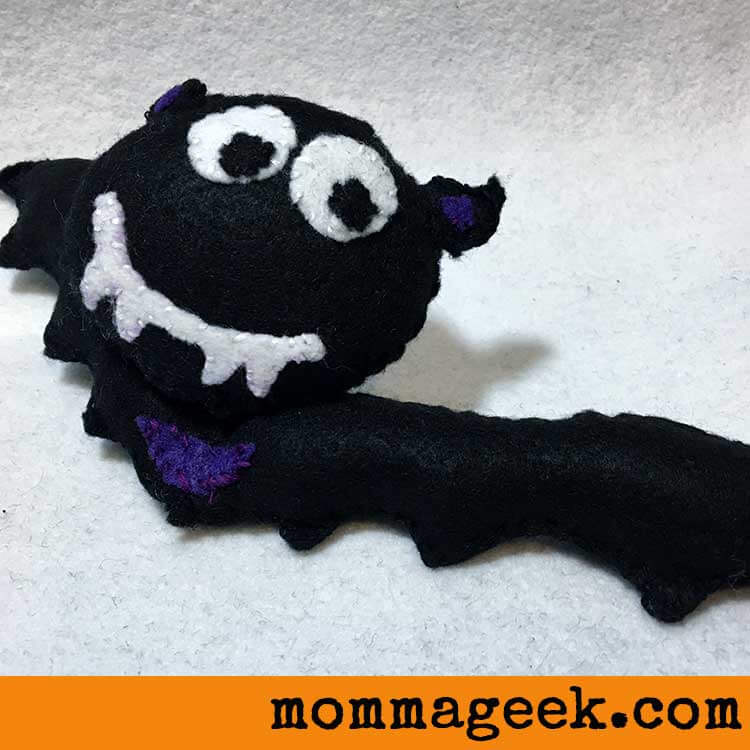
And that’s it! You have a fun and cute little halloween bat. You can use these for all kinds of things. You could make several and hang them from your door, or porch ceiling. You could set them around the house, you could add them to a Halloween wreath. The possibilities are endless.
Don’t forget to grab your free copy of the bat pattern pdf.
As Dennis from Transylvania would say – Blah blah blah
–MommaGeek
This post may contain affiliate links. If you click & make a purchase, I receive a commission! Disclosure policy here.