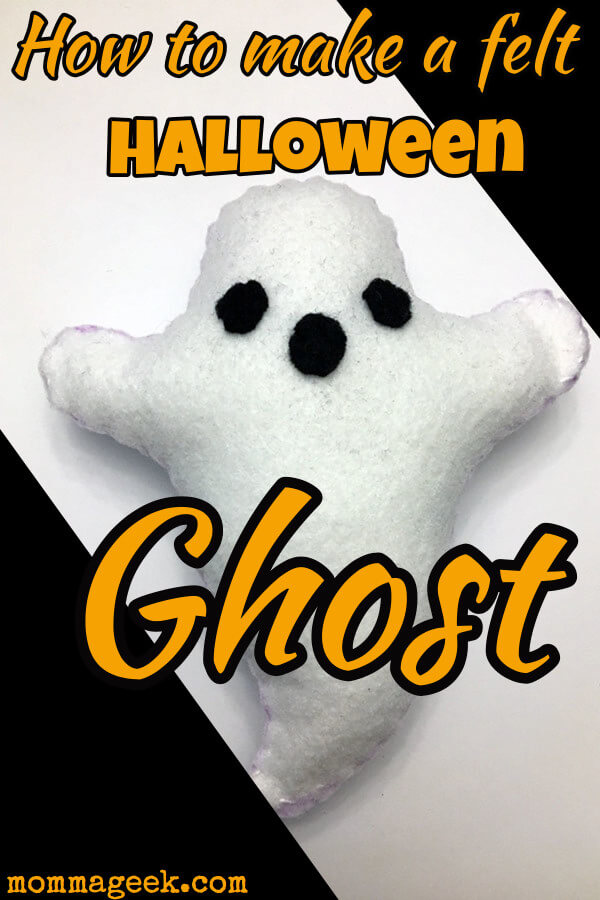
It’s that time of year again. Time for ghost and goblins and everything scary. Well, sometimes we like things a little less scary and a little more cute. This ghost pdf pattern is just that. And the best part is, it’s easy.
If you’ve never done a felt pattern before, this ghost pattern is a great place to start.
If you’d like to see more Halloween felt patterns, this is a Frankenstein and this a halloween bat.
To grab your free copy of this ghost pdf pattern, drop your email in below.
Here are the supplies you need:
6 stranded thread. I use this kind
Felt, something thicker than standard craft store felt but not too thick
Batting or stuffing. I used an old pillow, but if you don’t have one, this works really well.
A needle with an eye big enough for a 6 stranded thread. A standard cross stitch needle tends to be too dull on the end to push through felt. You will want an embroidery need like this.
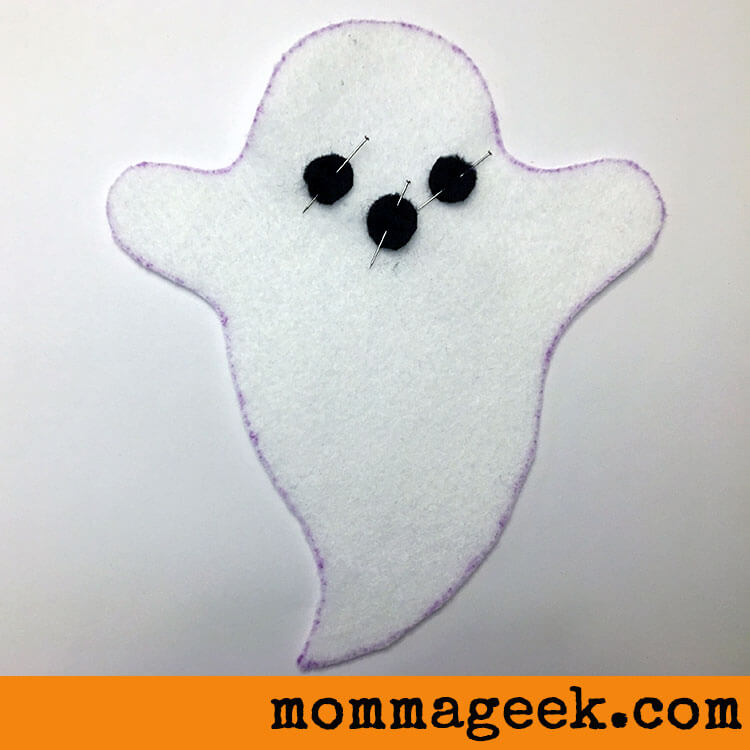
A side note, you will see purple on some of the white felt fabric. I used a disappearing ink fabric marker like this one. The are air and water soluble. Mine took about 36 hours to fully disappear. If you don’t want to have marks on your fabric, you can pin the paper pattern to your felt and cut it out that way.
So, lets get started.
The first thing that you need to do is to cut your pattern out.

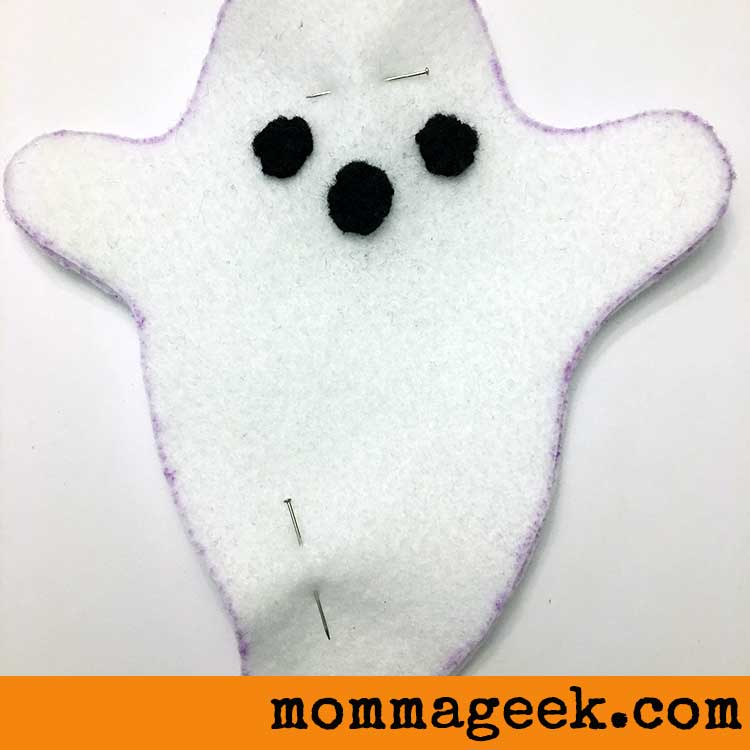
Once you have your pattern cut out, you will take one side of the ghost and pin his little eyes and nose in place. It is important to pin in order to keep the eyes symmetrical as you sew.
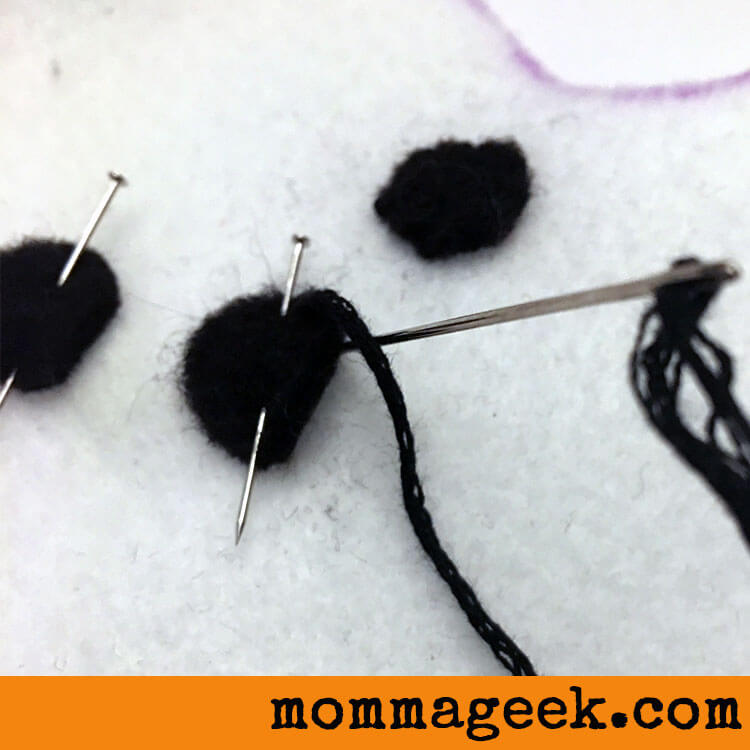
To sew the eyes and nose on, you will bring your needle up through the back into both the white and black felt. But on your down stitch you will want to go through just the white felt underneath the eyes nose and mouth. This helps keep the black thread only on the black pieces and also helps hide the stitching. If you don’t do this, that’s ok, It will just have a different look when you are done.
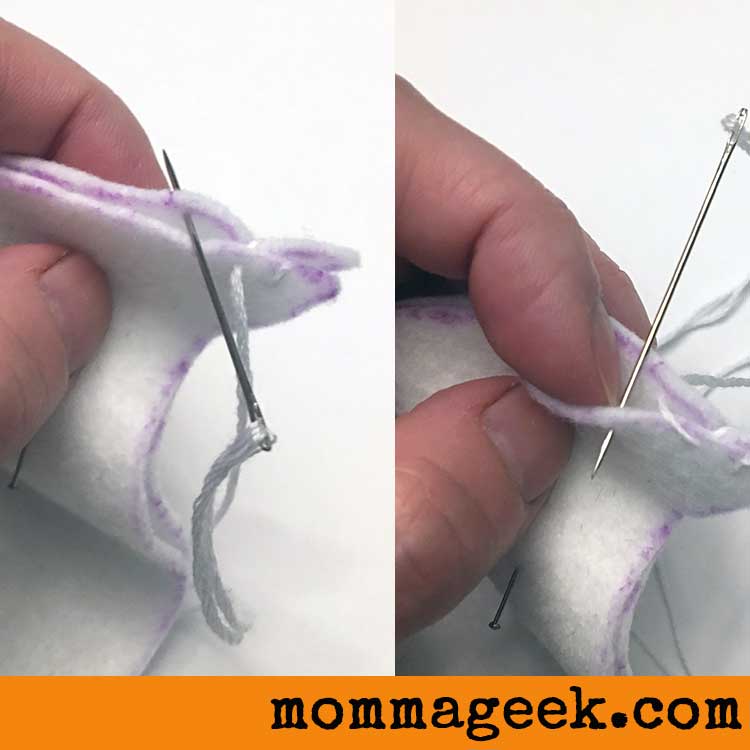
So you should have the front half of your ghost finished now. The next step is to lay the front and the back pieces together an pin in place.
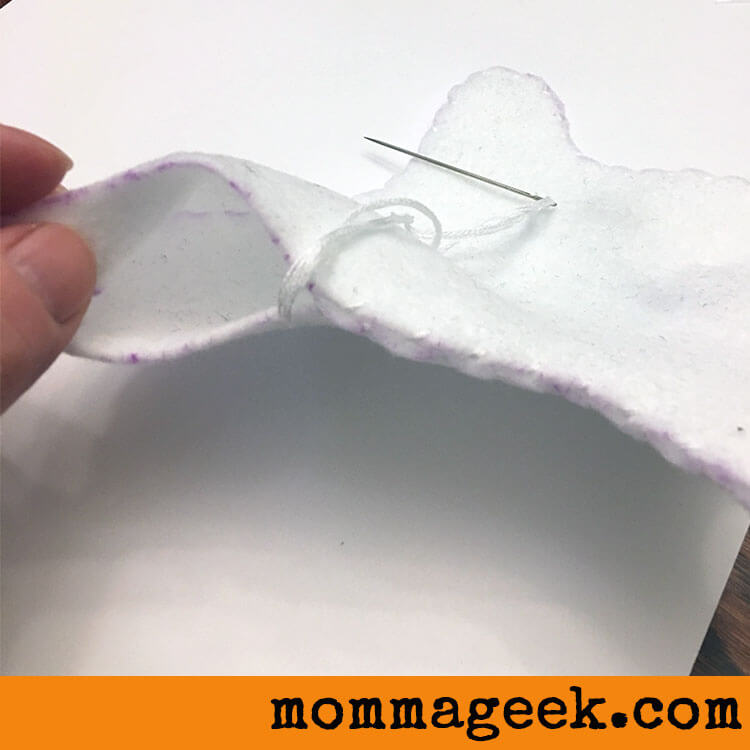
To stitch the sides you are going to sew through one piece of felt at a time. With your needle in the back, you will push it through the top layer of felt. With your needle in the front, you will push it through the back piece of felt.
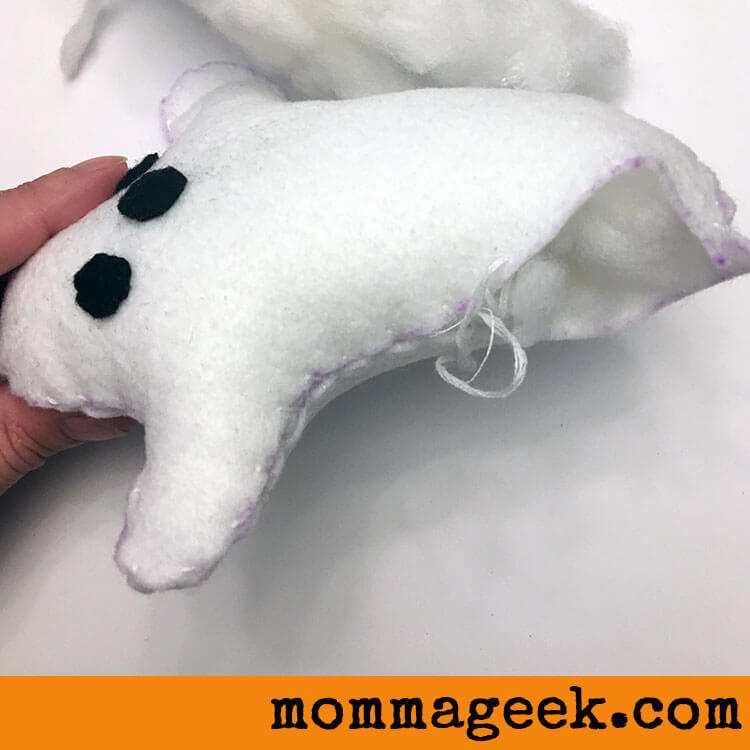
Stitch most of the way around but leave an inch or so gap. You don’t need to tie off your thread, just let it dangle.
Great! Now stuff that little bugger full. Use a pencil to help pack the stuffing into all the little corners.
And, that’s it. You now have an adorable little felt ghost for Halloween. you could make several of these and hang them as garland, you can use them as ornaments or lay them around your house. The decorating ideas are endless.
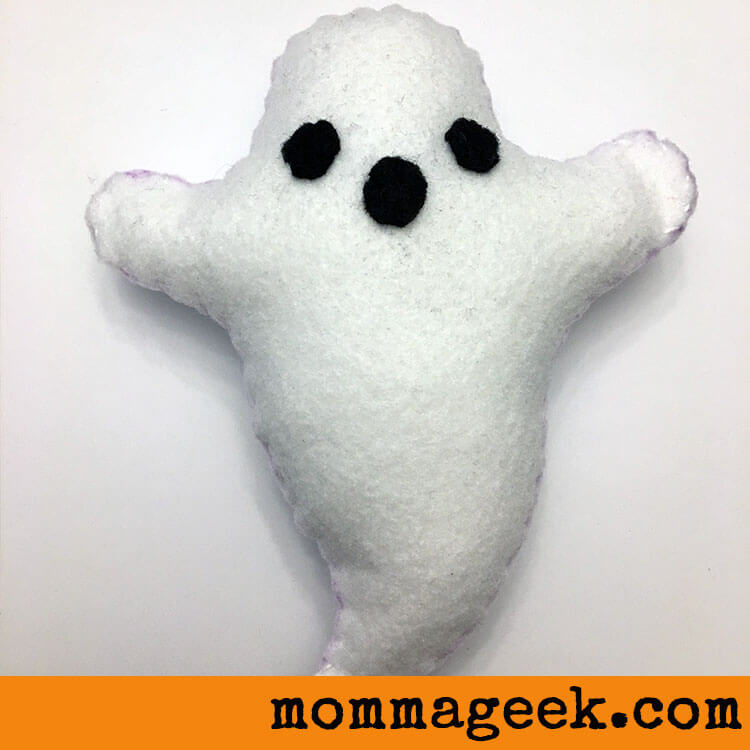
I hope you like this little guy. He was a fun project to work on.
Don’t forget to grab your free copy of the ghost pdf pattern.
Who ya gonna call…
–MommaGeek

This post may contain affiliate links. If you click & make a purchase, I receive a commission! Disclosure policy here.