
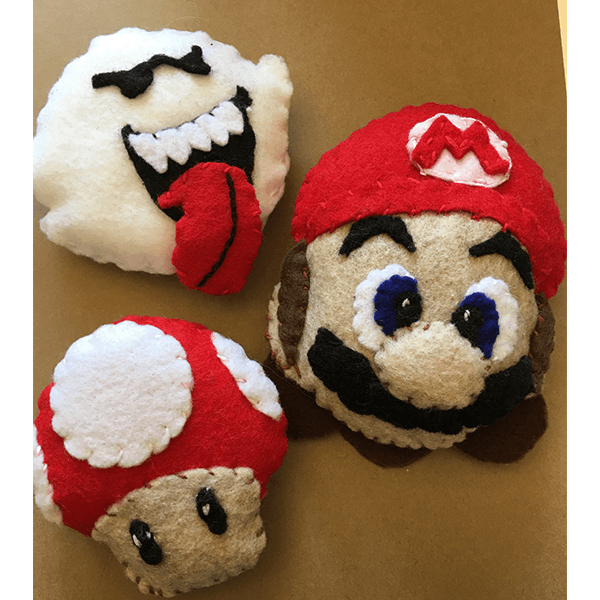
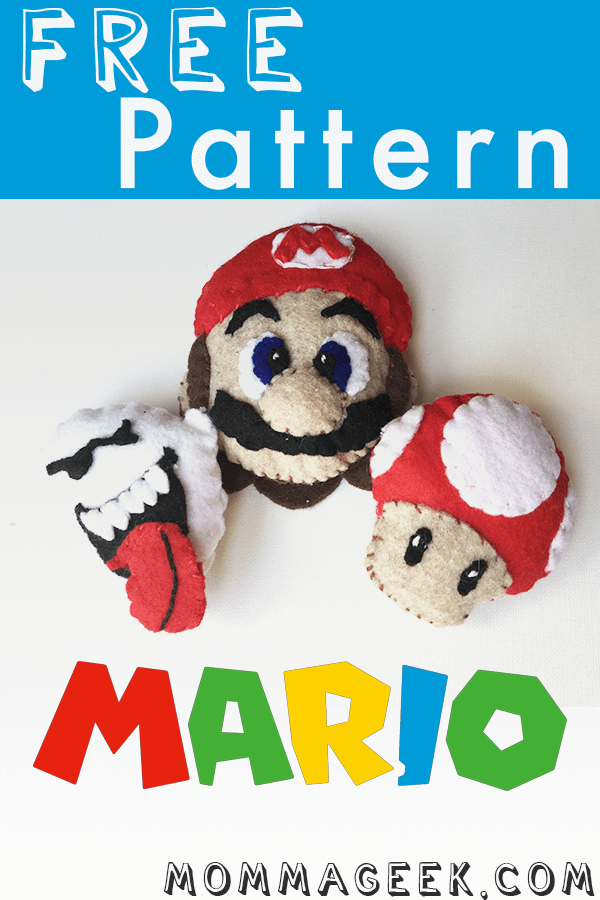
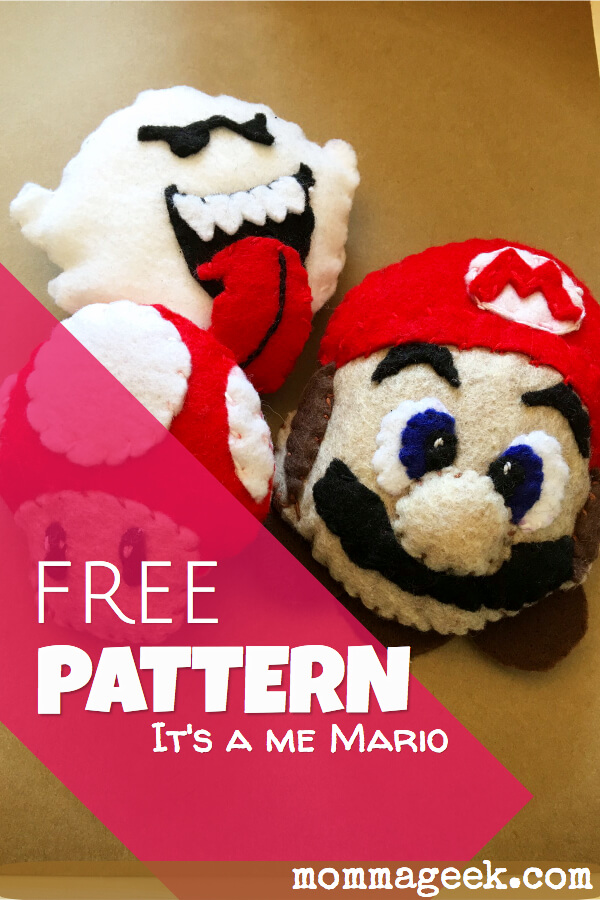
In this post I am going to show you how to make a stuffed Mario themed felt toy. In a previous post I showed you how to make a power up mushroom and boo. You can find that post here.
The steps to creating Mario are very similar to the ones for the power up mushroom and boo. Sign up below to download your free copy of the Mario and friends patterns.
You will start by cutting out all of the shapes from the pattern. I found that it was hard to trace on the black felt, so instead of tracing, I pinned the cutout pattern piece right no top of the felt and cut it out that way.
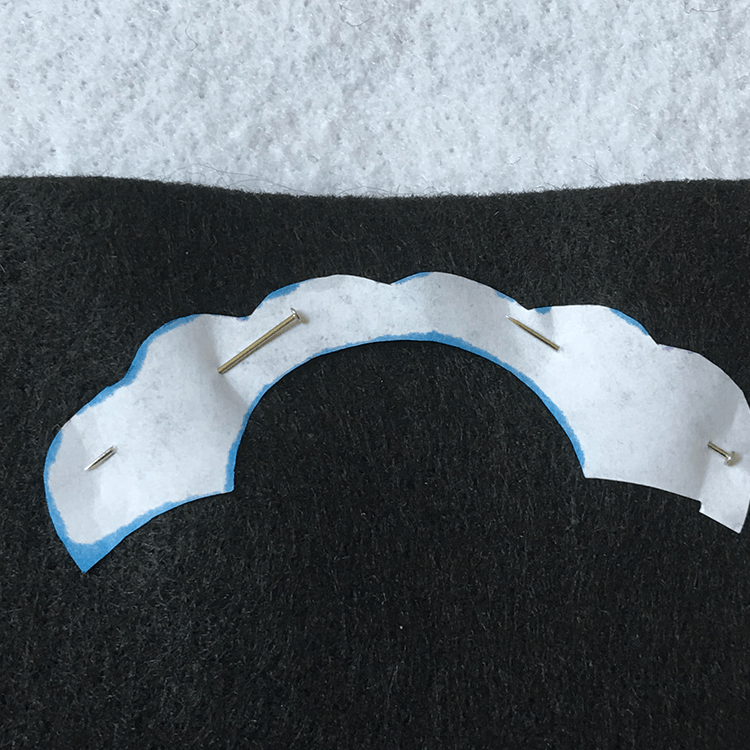
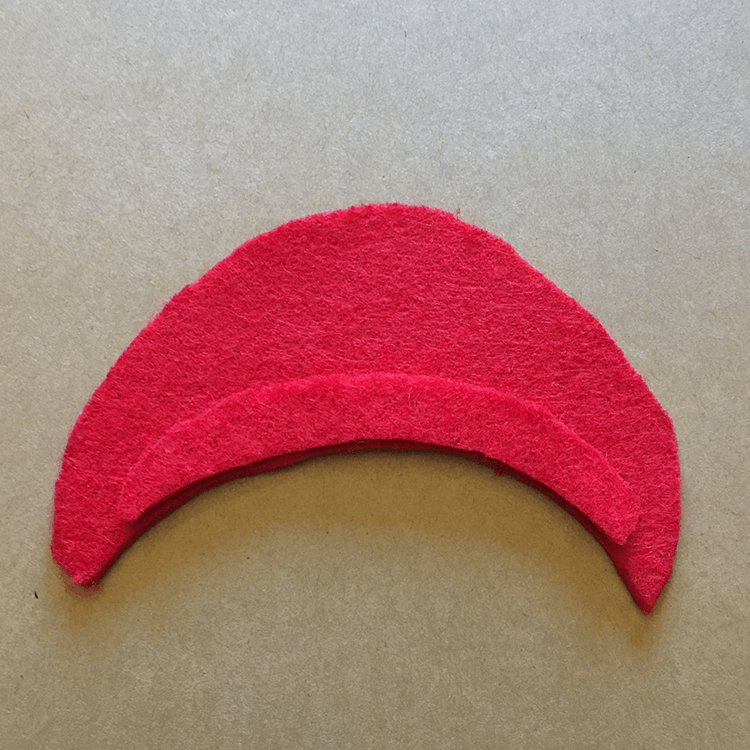
The next step was to sew the brim of the hat onto the larger hat piece.
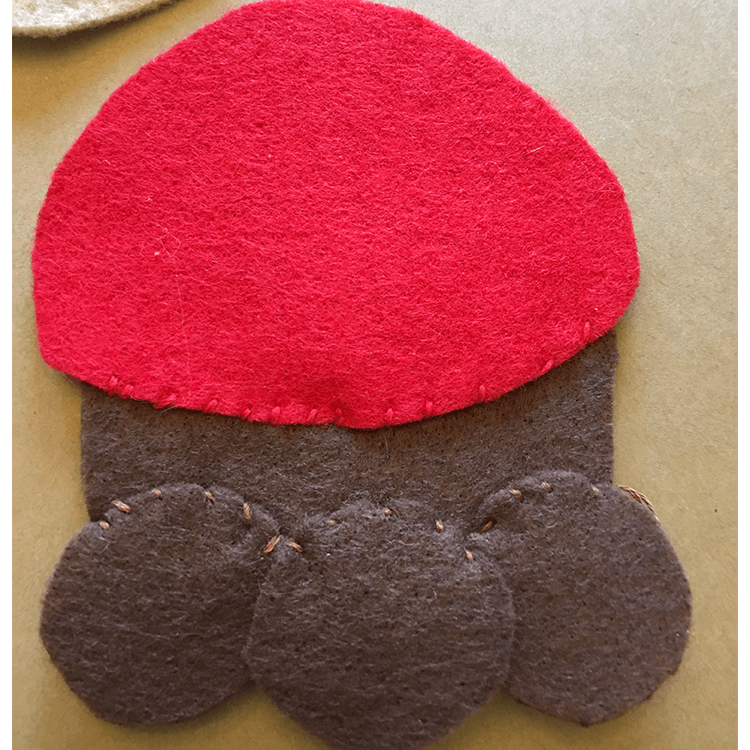
Then take all of the Mario face pieces and lay them out on the face itself.
This step will allow you to pin everything in place and adjust as needed. Because Mario has features like eyes, eyebrows and sideburns that need to be fairly symmetrical this step helps keep everything in place while you are working on your Mario.
The next thing to do is to line up all of the pieces for the back of Mario’s head and stitch them together. I did this step next because it helped to ensure that the hair and the hat lined up evenly on the top and sides and that Mario’s mullet curls would cover the bottom of the head.
Once the back of Mario’s head is finished set it off to the side. We won’t need it again until we are about finished.
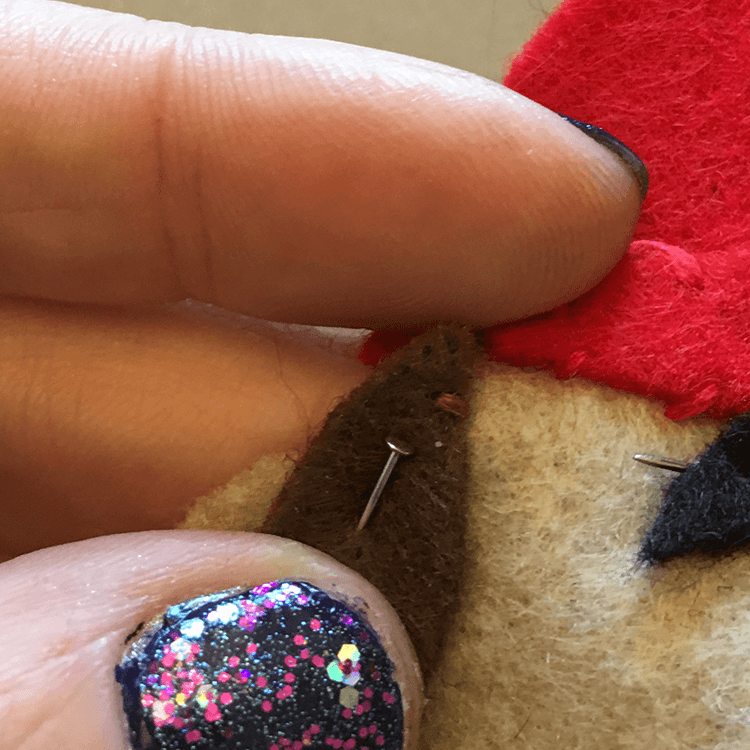
The next step is to sew Mario’s sideburns on.
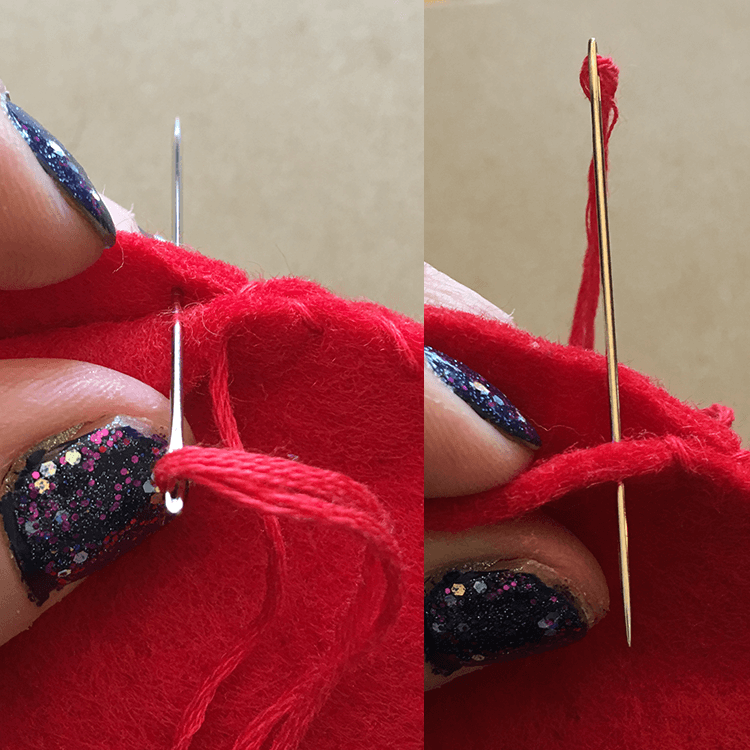
I do a close up in the stitch here to show you how I do it. I come up from the back through both layers of fabric.
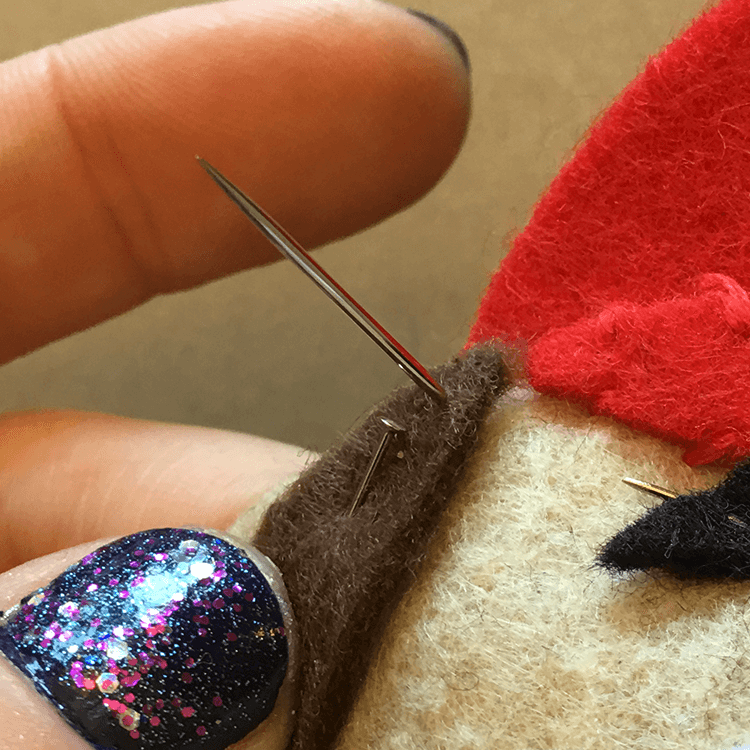
Then I tuck the needle under the brown fabric and only go through one layer of fabric.
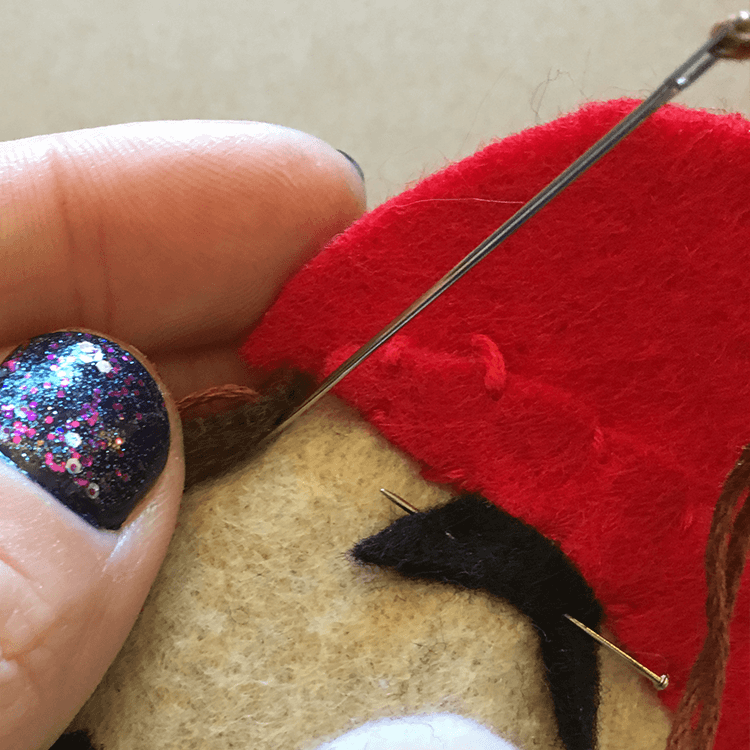
This leaves just the matching thread showing for the matching fabric.
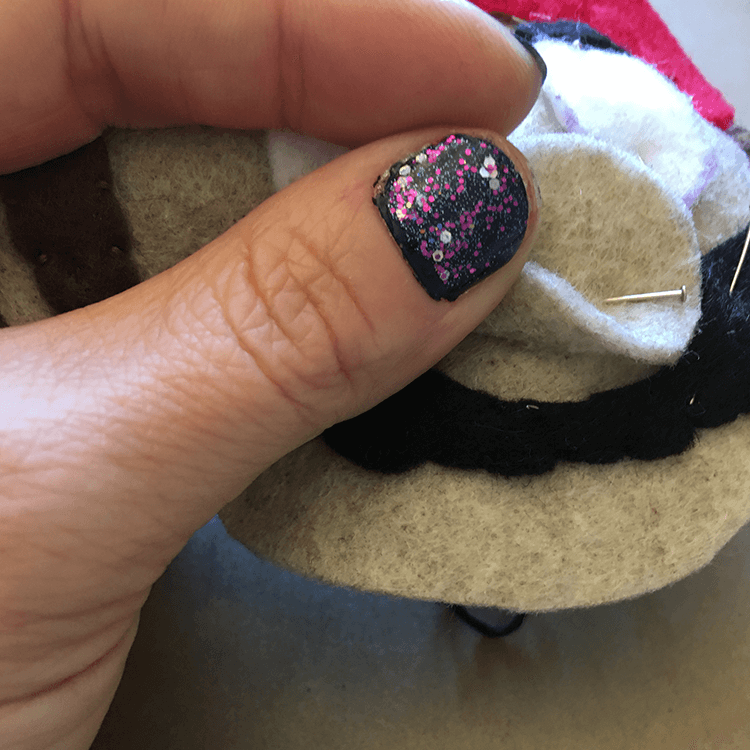
Once both sideburns are stitched down, the mustache is the next piece to sew on.
Leave all of the other face pieces pinned down while you continue to sew on more facials features.
For the mustache you will need to fold back Mario’s nose to stitch under neath it. You will do the same technique for the white of his eyes as well.
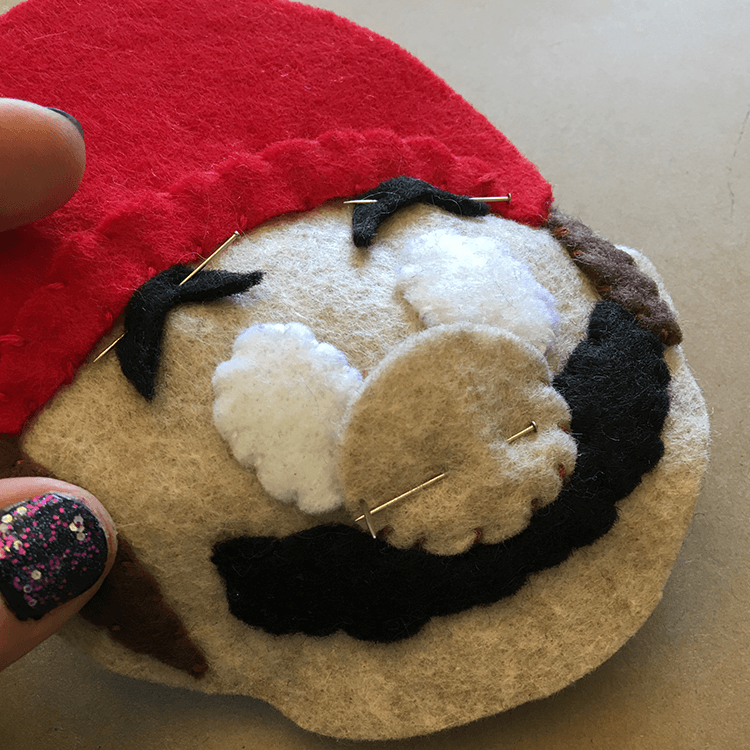
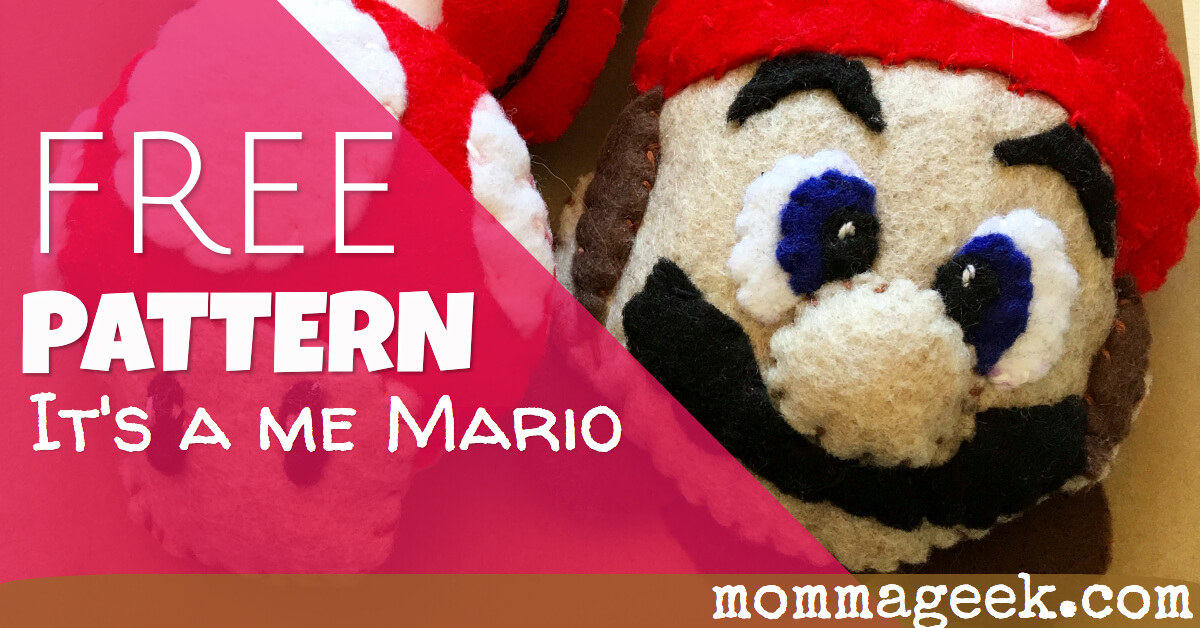
Ok. We’ve got Mario’s signature mustache in place and the whites of his eyes. His nose is the next thing to tackle.
You are going to stitch around his nose making sure to follow the same technique as before. Pull the needle up through the nose fabric and put the needle in behind the nose fabric. This helps pull down the nose over the top of the mustache and eyes without leaving any gaps to see behind. Because really, who wants to see behind his nose. lol
Once you have stitched most of the way around Mario’s nose you will want to stop sewing and leave a gap for filling. You don’t need to tie off your thread or anything, as you will finish stitching him up once his nose is stuffed.
I stuffed Mario’s nose and then used a pencil to pick his nose. You should have heard me giggling, I’m picking Mario’s nose.
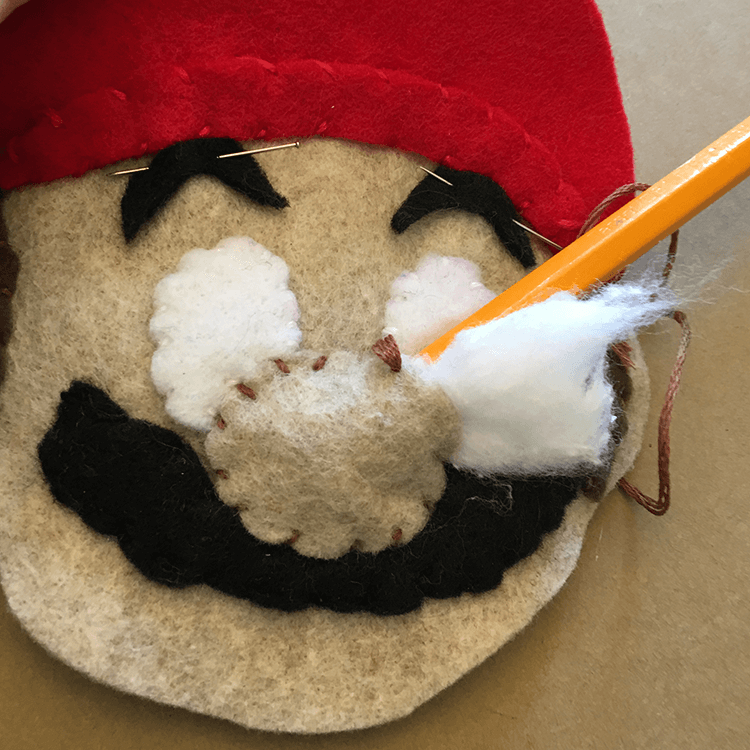
You can see by this next picture how stuffing his nose really gives his face some dimension. After all, he has that very pronounced nose, we should really show that detail off.

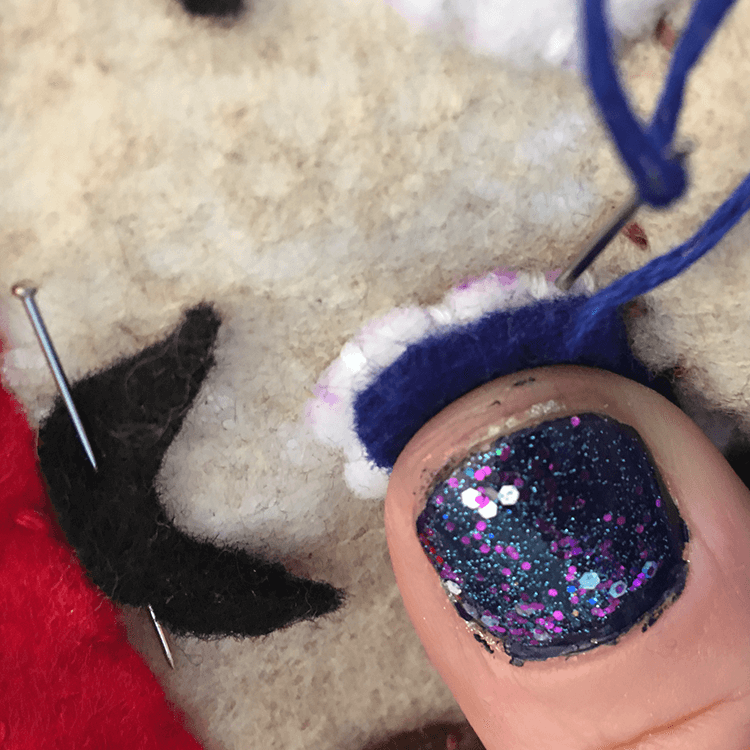
After you have his nose all stitched together, the next you will sew on is the black and the blue of his eyes.
Now there are a couple ways to tackle this. You could sew the black and blue onto the white before you ever put the white on, or you can sew them on as you go. I chose to sew them on as I went. This is because I wanted to keep everything as diametrical as possible. Fabric moves a bit while you are sewing and I didn’t want to risk have an ever more cross eyed than normal Mario.
It is very important that when you sew the eyes on that on your back stitch you are going behind the white or under the Mario’s nose. This pulls the blue down, hides the white and allows Mario’s nose to still be prominent.
Now what would Mario be without a couple of cute white reflection spots on his eyes.
I made this with just some white thread, but you could omit them or use white felt if you wanted to. At this point, you have several pieces of felt together and it can be kind of tough to get that needle through that fabric. But I believe in you. You can do it.
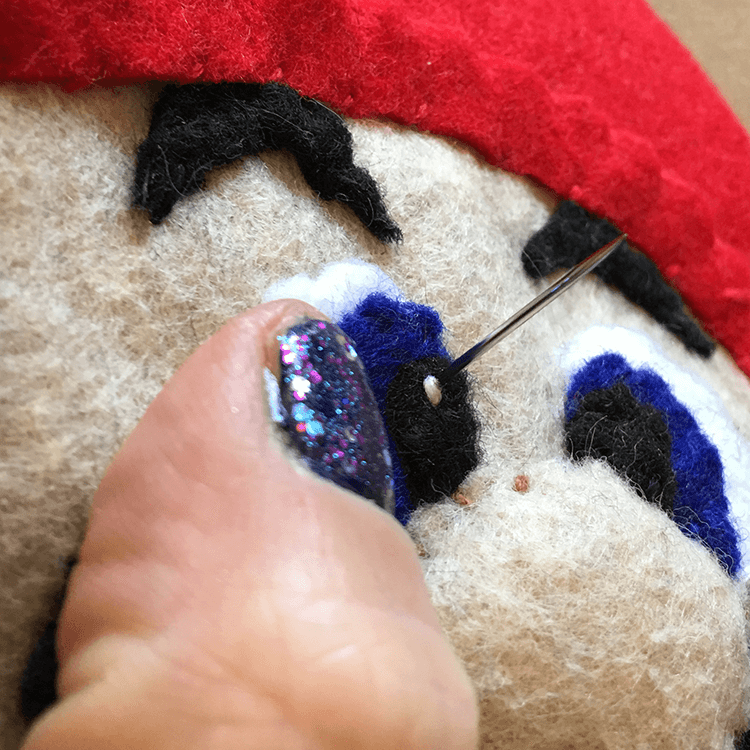
I left Mario’s eyebrows for last because they might need to be adjusted. Eyebrows are a funny thing. They can make you look sad, happy, surprised, sad. I didn’t not want Mario to end up looking like he was angry. And those dark eyebrows it can be easy to do. So just adjust as you go.
Now your eyebrows are done. Flip Mario over and Ta-Da!!!!!
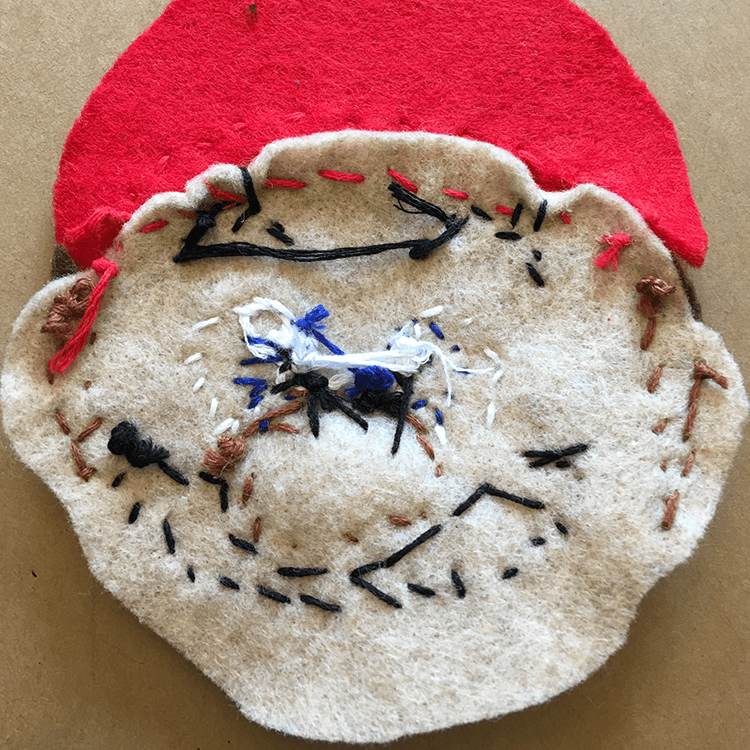
Yah, Mario has seen better days. That’s ok though. We won’t see any of this once he’s all put together.
The next thing Mario needs are ears. We have ears on the front, but where are his ears on the back? We need to add those separately from the back of the head. Stitch those cute little buggers on.

Once you have the ears in place, lay the back of Mario’s head onto those ugly Mario innards.
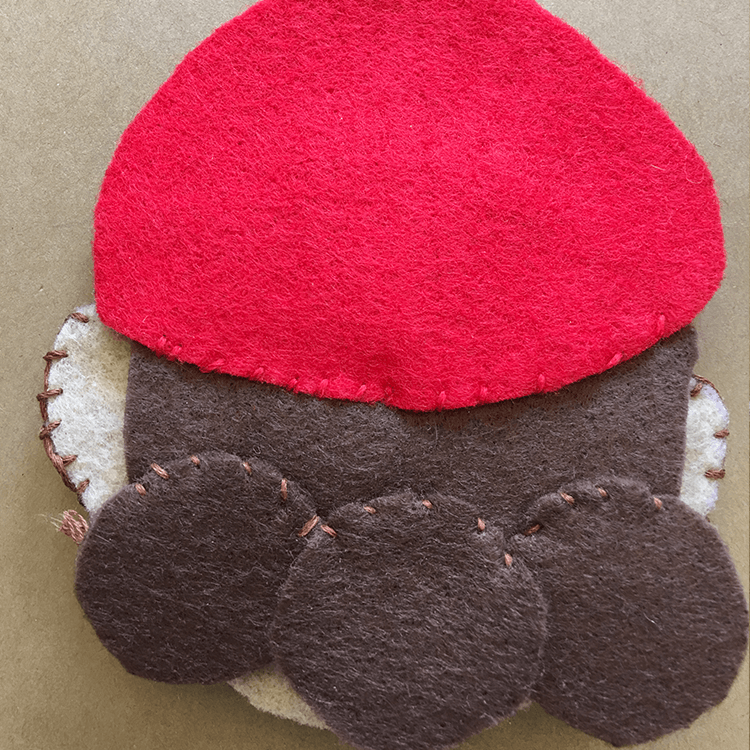
Time to stitch him together.
There are a lot of different ways to stitch. I use one that probably has a name, I don’t know. It was just trial and error for me. I like this particular stitch because it leaves the fabric looking slightly like a braid.
The way it works is, you only ever go through one piece of felt at a time. So if my needle is in front of Mario, I would poke it through the back piece of felt. And if my needle was behind Mario I would poke it through the front piece of felt.
This is what the braided edge looks like.

Work all the way around. Use red thread when you are sewing together the hat pieces and brown thread when sewing around the hair and head. Leave a small opening to fill him.
Stuff him up, close your hole and you are done!!
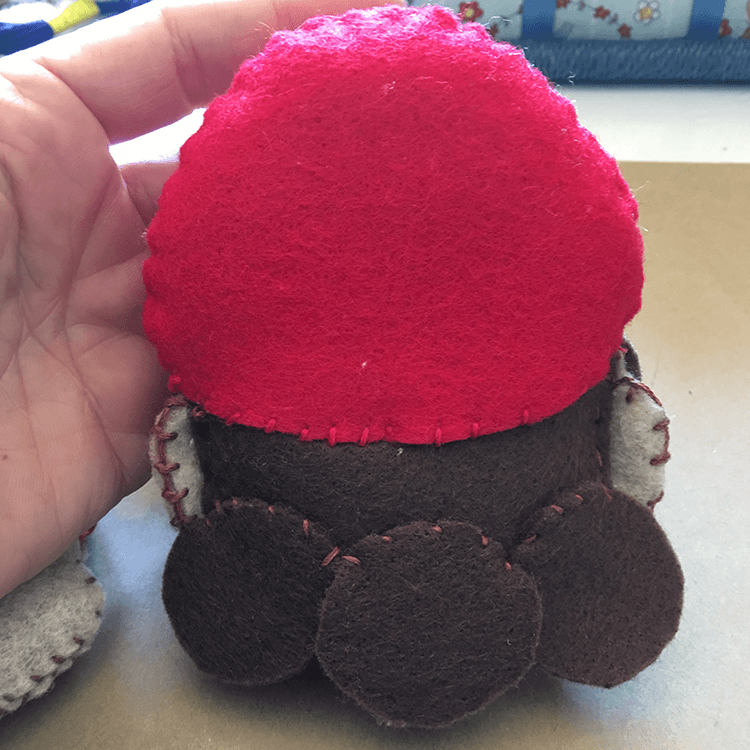
Here’s the back of him.
–MommaGeek
This post may contain affiliate links. If you click & make a purchase, I receive a commission! Disclosure policy here.

I subscribed and trying to get Mario felt pattern…for cut out where can I find this