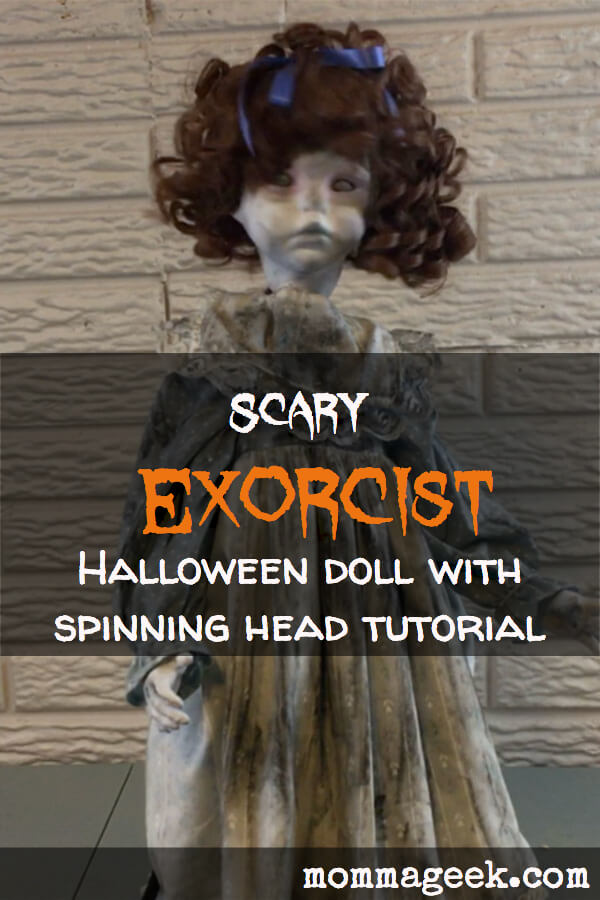
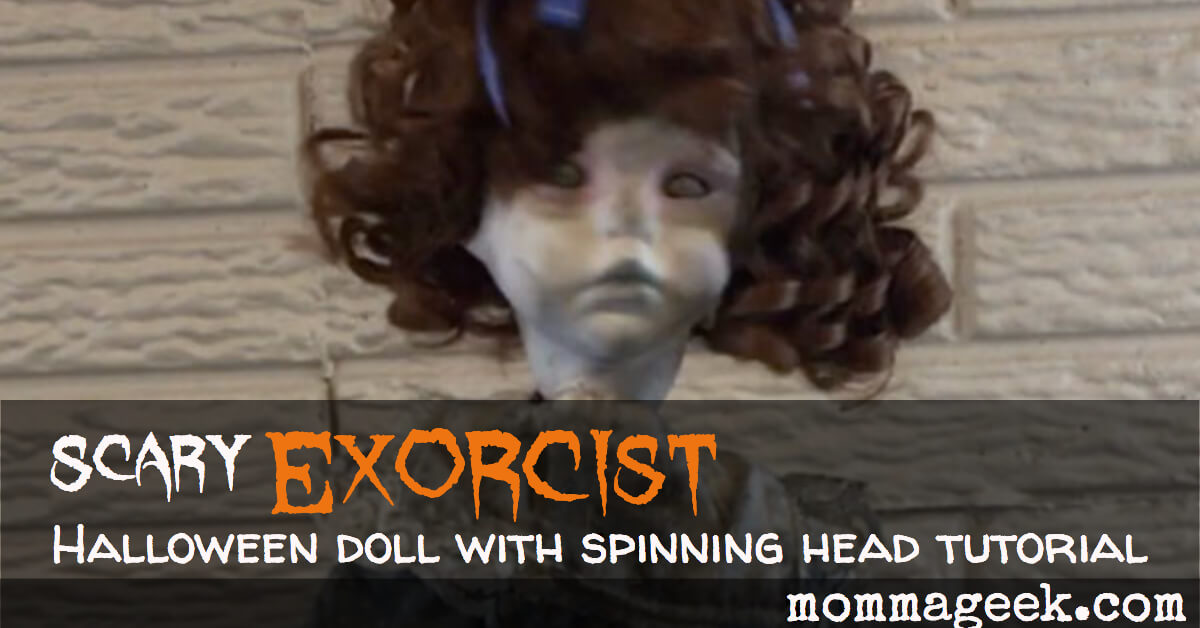
One of the creepiest things about Halloween is a creepy, scary doll with a spinning head. I looked for one to buy and came up empty handed, so I decided to make on myself. This tutorial will show you how to make your own scary Exorcist Halloween doll with spinning head.
The supplies are cheap.
If you want to make a creepy, scary doll you will need the following supplies:
A motor – I used this one, but this would be a better speed.
A speed dial (optional) – This helps to add a jitter to her movements, I find this to be creepier than a smooth movement.
Acrylic Paint – This is the brand I prefer
Pastels or chalk – Make sure to get pastel chalk and not pastel oil.


Glow in the dark pigment – I tried several, this was by far the best.


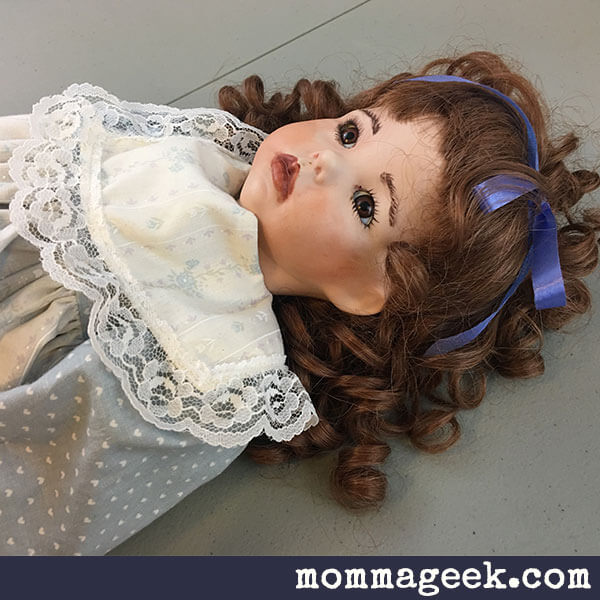
I made this scary exorcist Halloween doll out of a second hand ceramic doll I found at the Salvation Army. While this project can be made out of a plastic doll, I really wanted to add the authenticity of ceramic to this project. Most of the other supplies I had on hand.

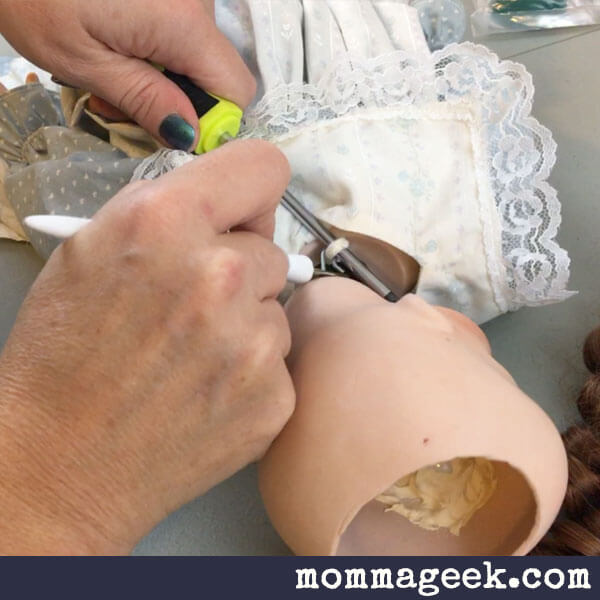
The first thing that you will need to do is to detach the head from your creepy doll.
Many of the ceramic dolls have a skull that has been glued back on after construction. The doll I purchased already had a hole in her head. However, if yours does not you can use a solvent to loosen it.
After the head is off you may find that the doll’s joints are loose or even broken. If this happens simply thread some new elastic through or tighten the existing elastic if you need to.
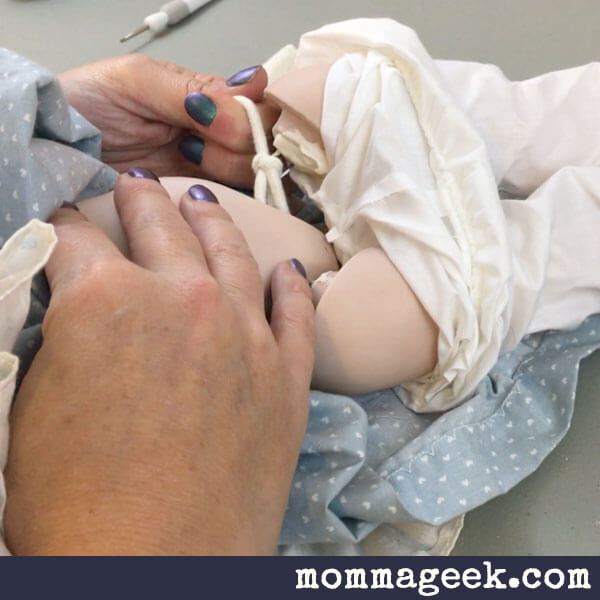
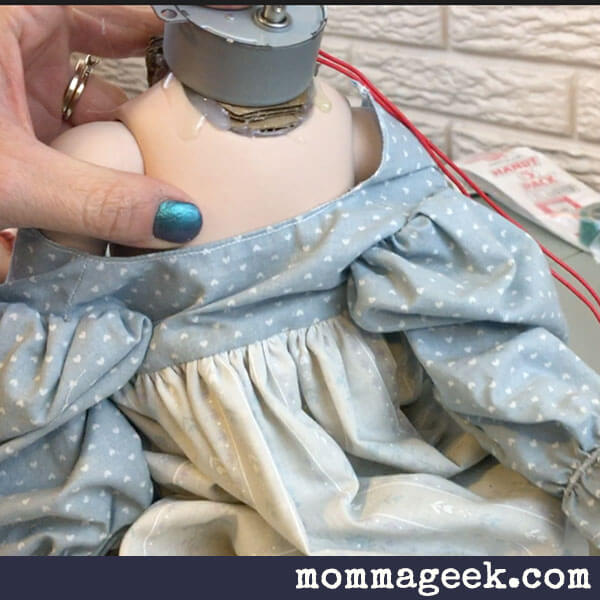
Now you will need to create a support structure for the head of your scary doll that will firmly grasp the head so that the motor can turn the head. I used a piece of PVC pipe with a dowel placed through it.
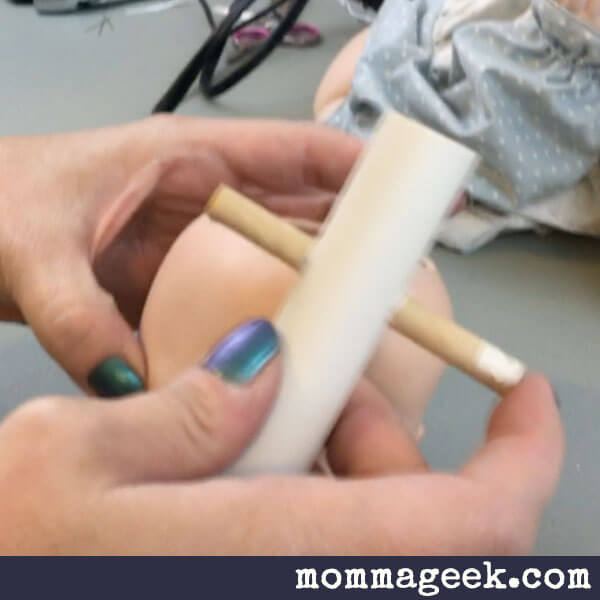
Place the dowel into the dolls head and secure it inside along the inner sides of the doll head with hot glue.
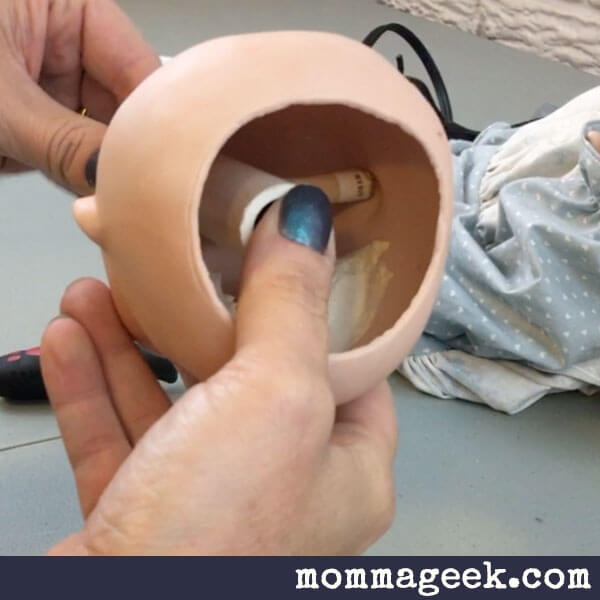
Once you have the dowel secure in the dolls head you will want to add a piece of cork that has been carved down to fit in the doll. You will want to carve out a hole on the other side that is just big enough to fit onto the motor. The hole should be tight. If it is not, place a little dab of hot glue on the end of it.
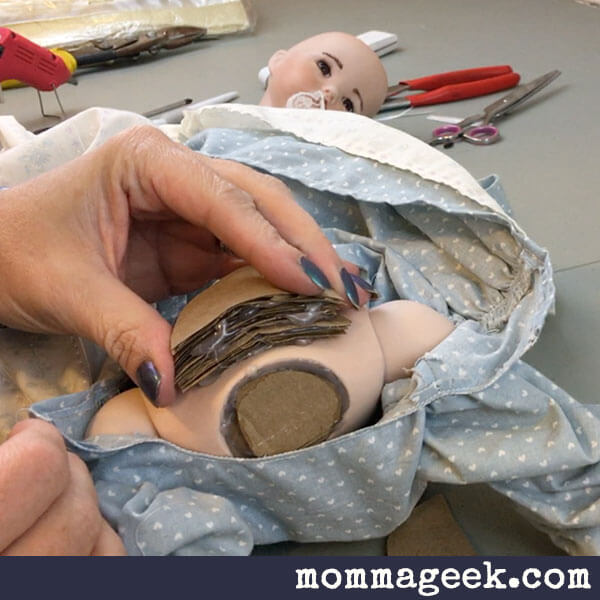
At this point I needed to add a support structure onto the back of the creepy doll in order to hold the motor in the correct position. I wanted to make sure that the doll head stayed in the correct position.
With the head in place, go ahead and try the motor on the doll.
Once you have it were you like glue it down. Since I didn’t have any silicone, I used hot glue along the motor and the doll to keep it in place.
Now paint the scary doll’s head. I started with a base coat of white. I think the white adds a creepy effect.

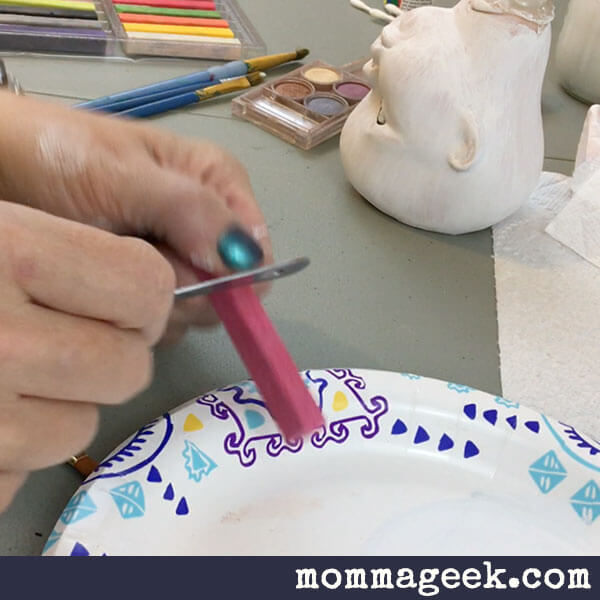
The next thing to do is to add some charcoal to the doll.
I scraped the pastel chalk into a powder and used a paint brush to apply it. I first started with some red around the eyes.
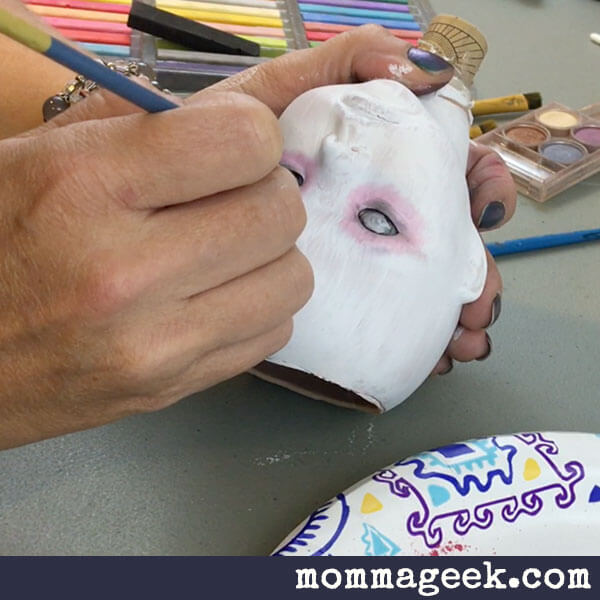
Now add some detail with some black and blue chalk.
Paint some lines down the face and add speckles here and there, blending with your paint brush as you go.
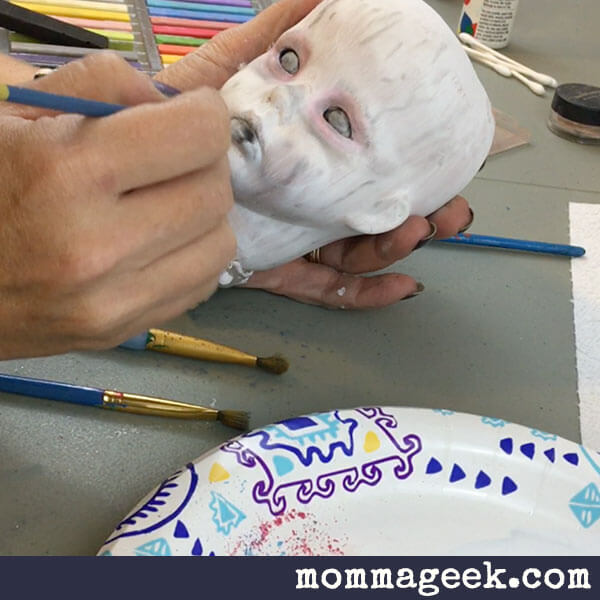
Add some dark charcoal to the clothing of the scary doll to bring the look together.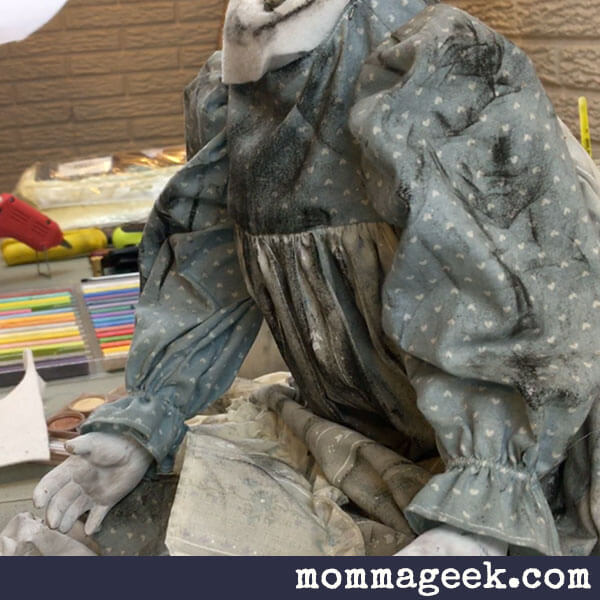
Your spooky Halloween doll should be coming together now. Go ahead and place the the head onto the motor and adjust the dress to fit over the visible parts of the motor. You may need to cover it with some extra fabric. Make sure if you do that you follow the same steps for dirtying the clothing.
Next place the head onto the motor.
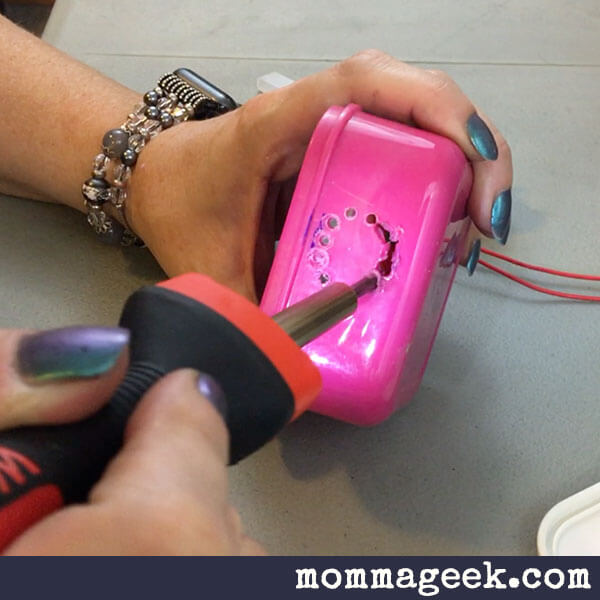
You will now need want to create a box to hold speed dial. I used an old snack container. I measure the sides and cut holes where the wires and knob should go. I cut the holes with a soldering iron. I tried using a few different tools, but the soldering iron was by far the fastest and easiest.
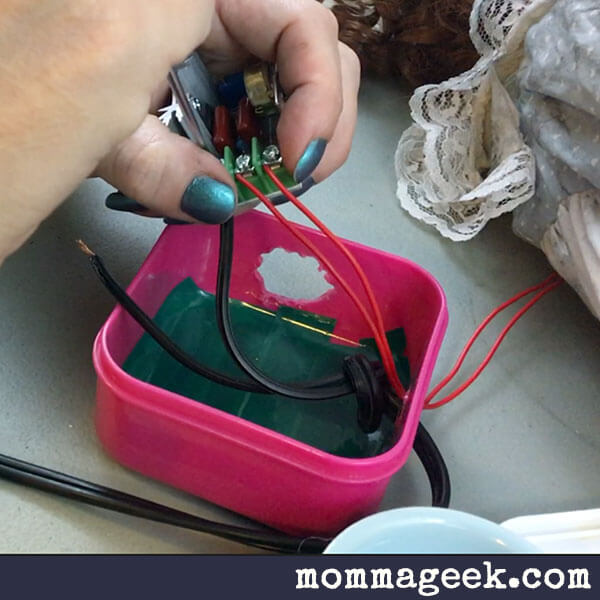
I then lined the bottom of the box with electric tape and placed the speed dial inside and wired it up. The board has an in in and out out. This specific motor doesn’t have a designated positive and negative so you can willy nilly wire it up.
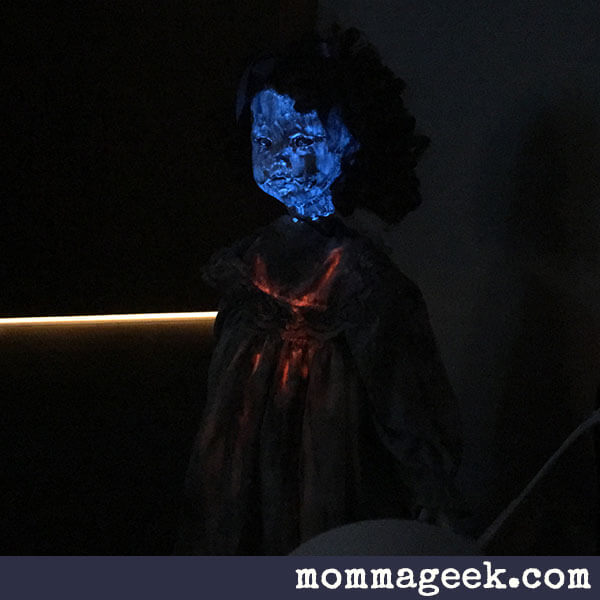
The lat thing that I did was brush on some pigment powder. I used blue on the face and a dash or red on the top of the dress. You could add the pigment to the paint at the time of painting the head.
I chose to add it after the fact. However, if I could go back, I would add it to the paint and only brush on the red to the dress.
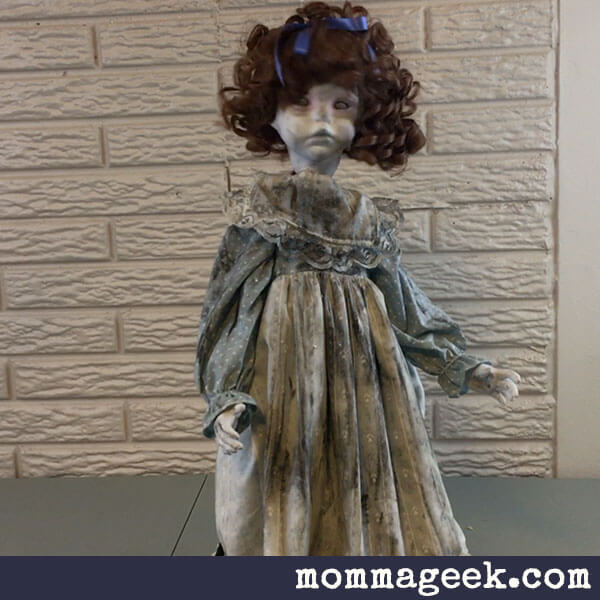
Here is the creepy doll with the glow in the dark pigment.
It was difficult to get a good picture of the glow in the dark effect, but even in this picture she looks very scary.
To see the creepy doll in action as well as the instructional video, check out the link below.
For some extra punch to your project, connect your spinning head doll to a wifi outlet and program her to spin her head periodically.
What an excellent day for an exorcism!
–MommaGeek

This post may contain affiliate links. If you click & make a purchase, I receive a commission! Disclosure policy here.